Operating Guide
Step 1 – Pre-Flight Checks
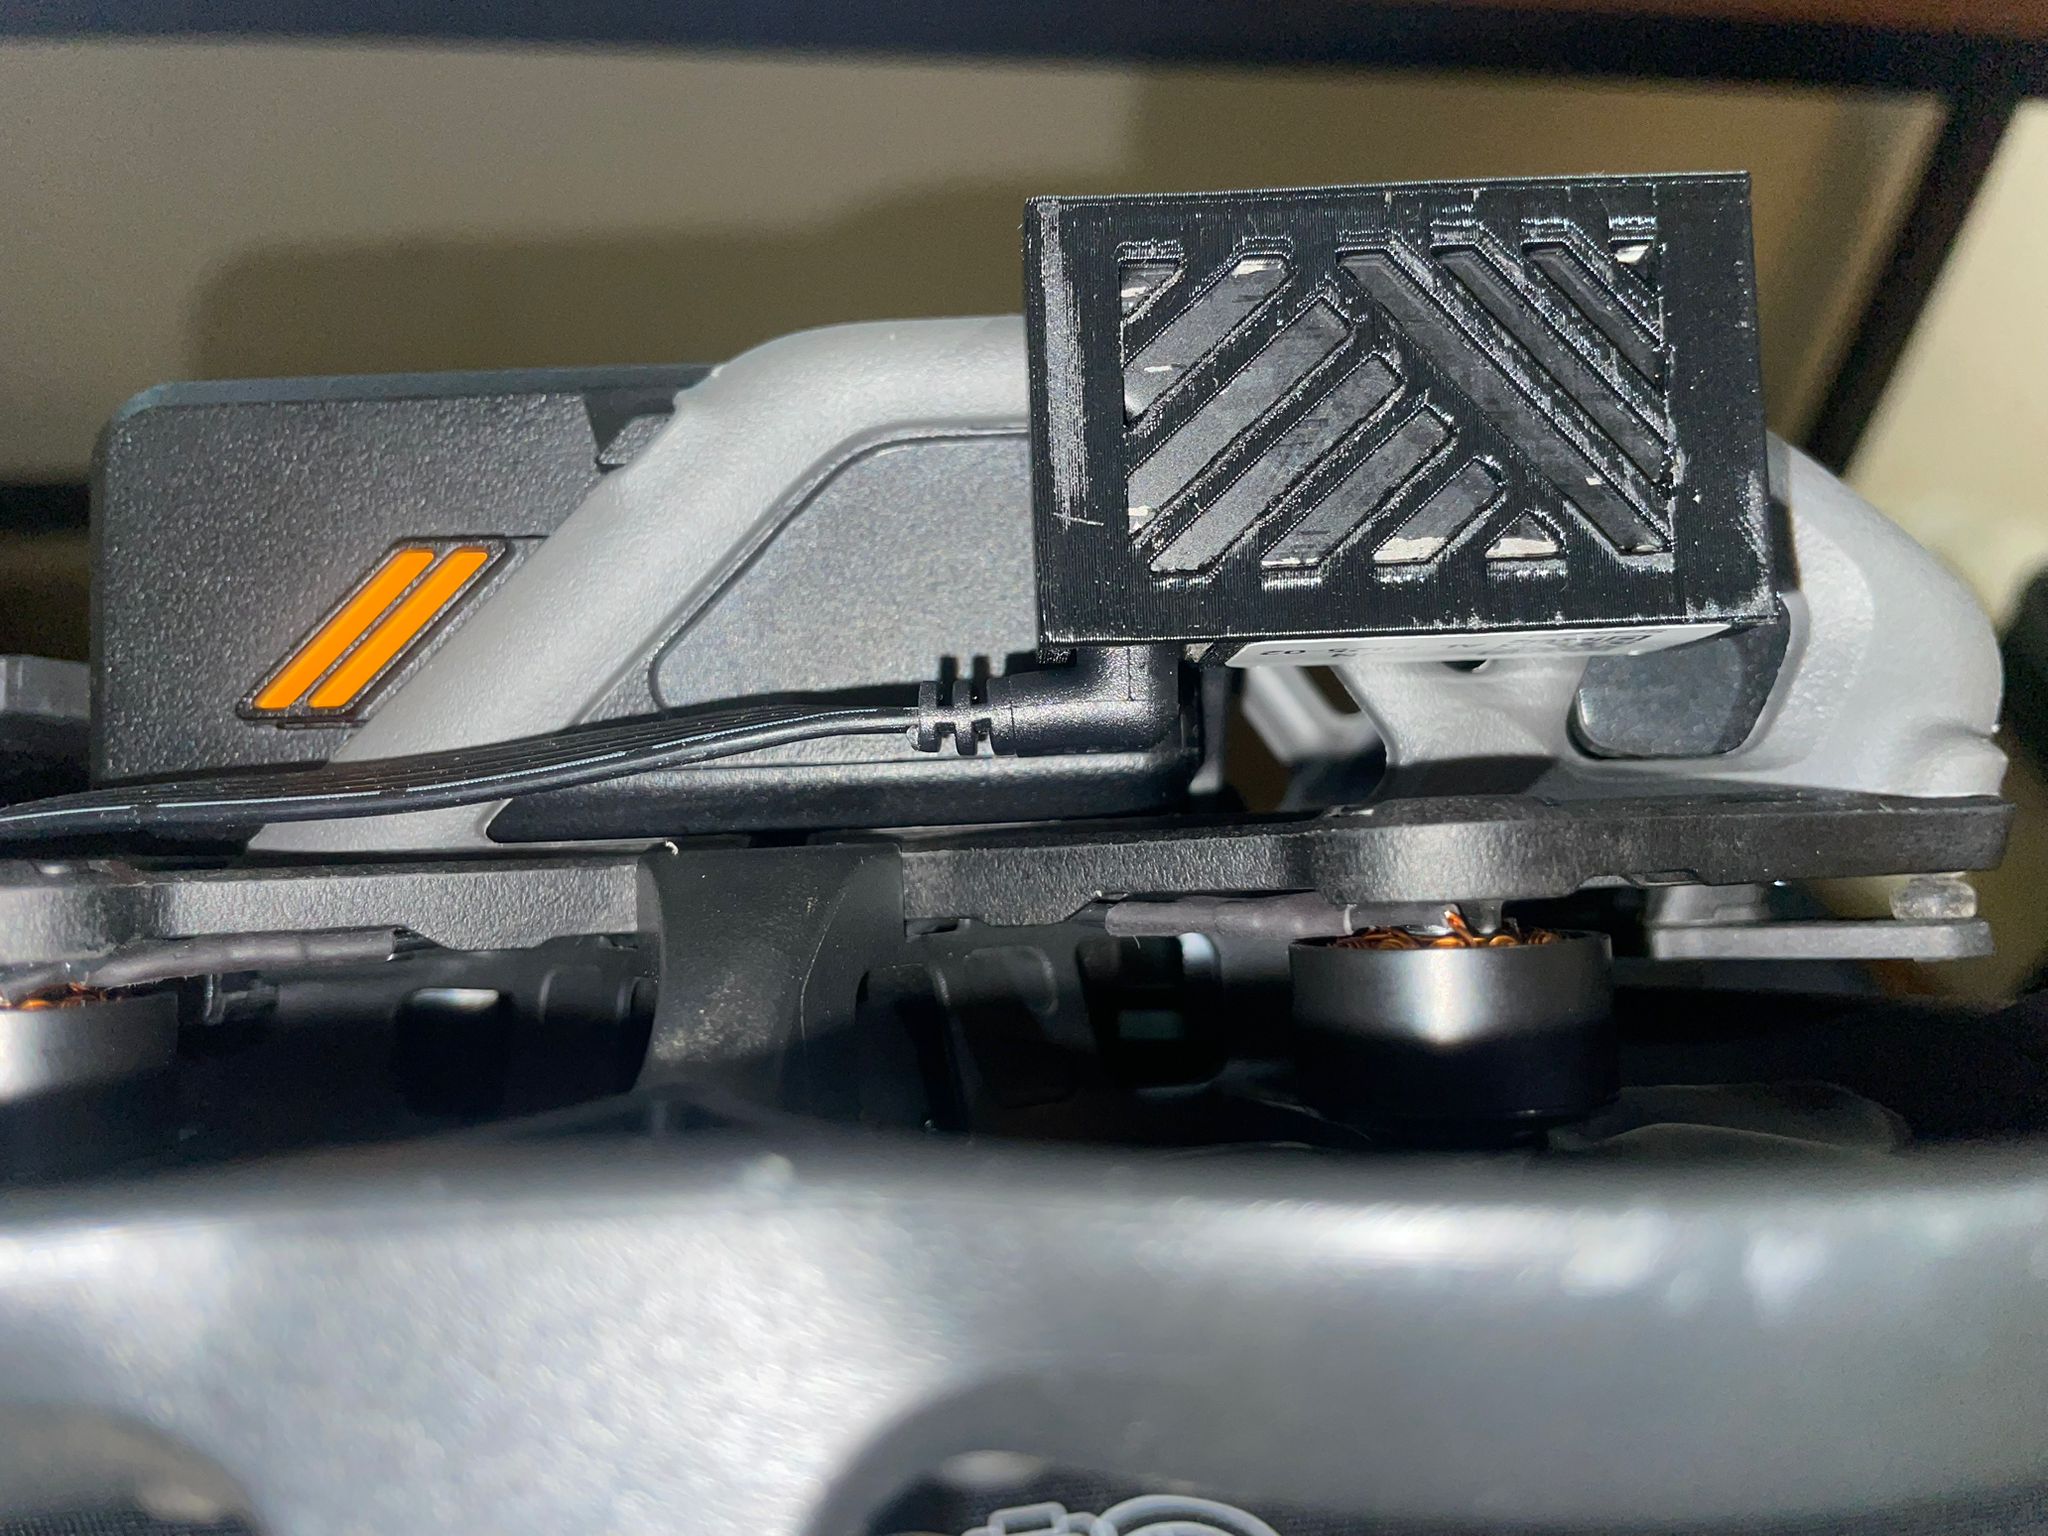
Check the rear unit connection to the drone
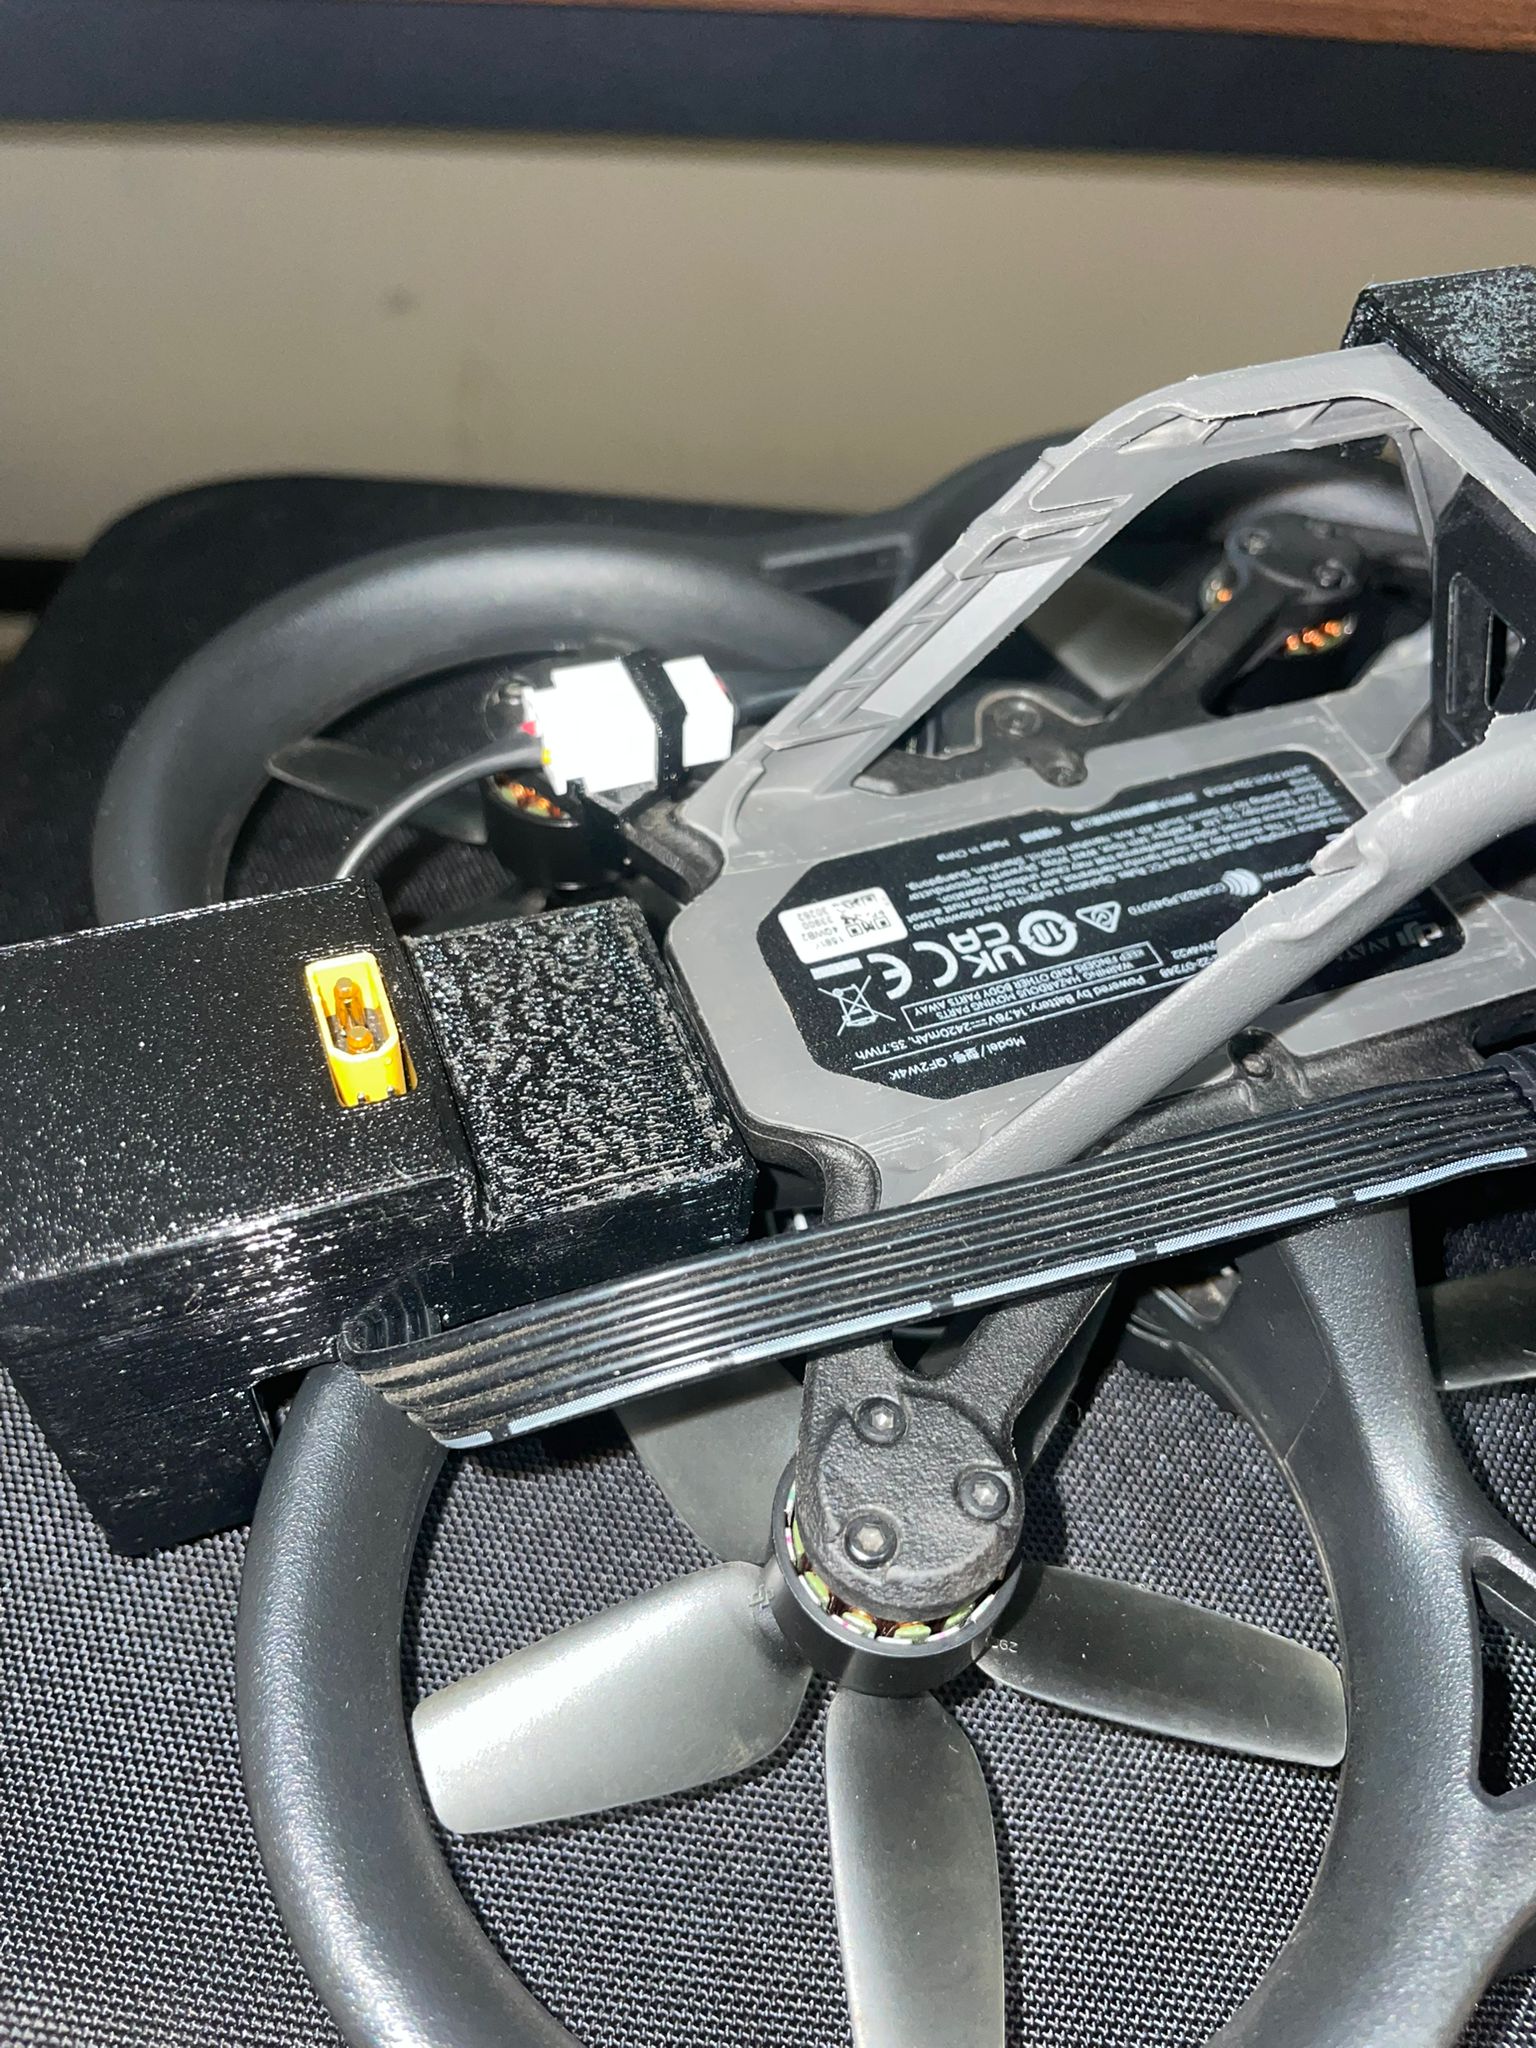
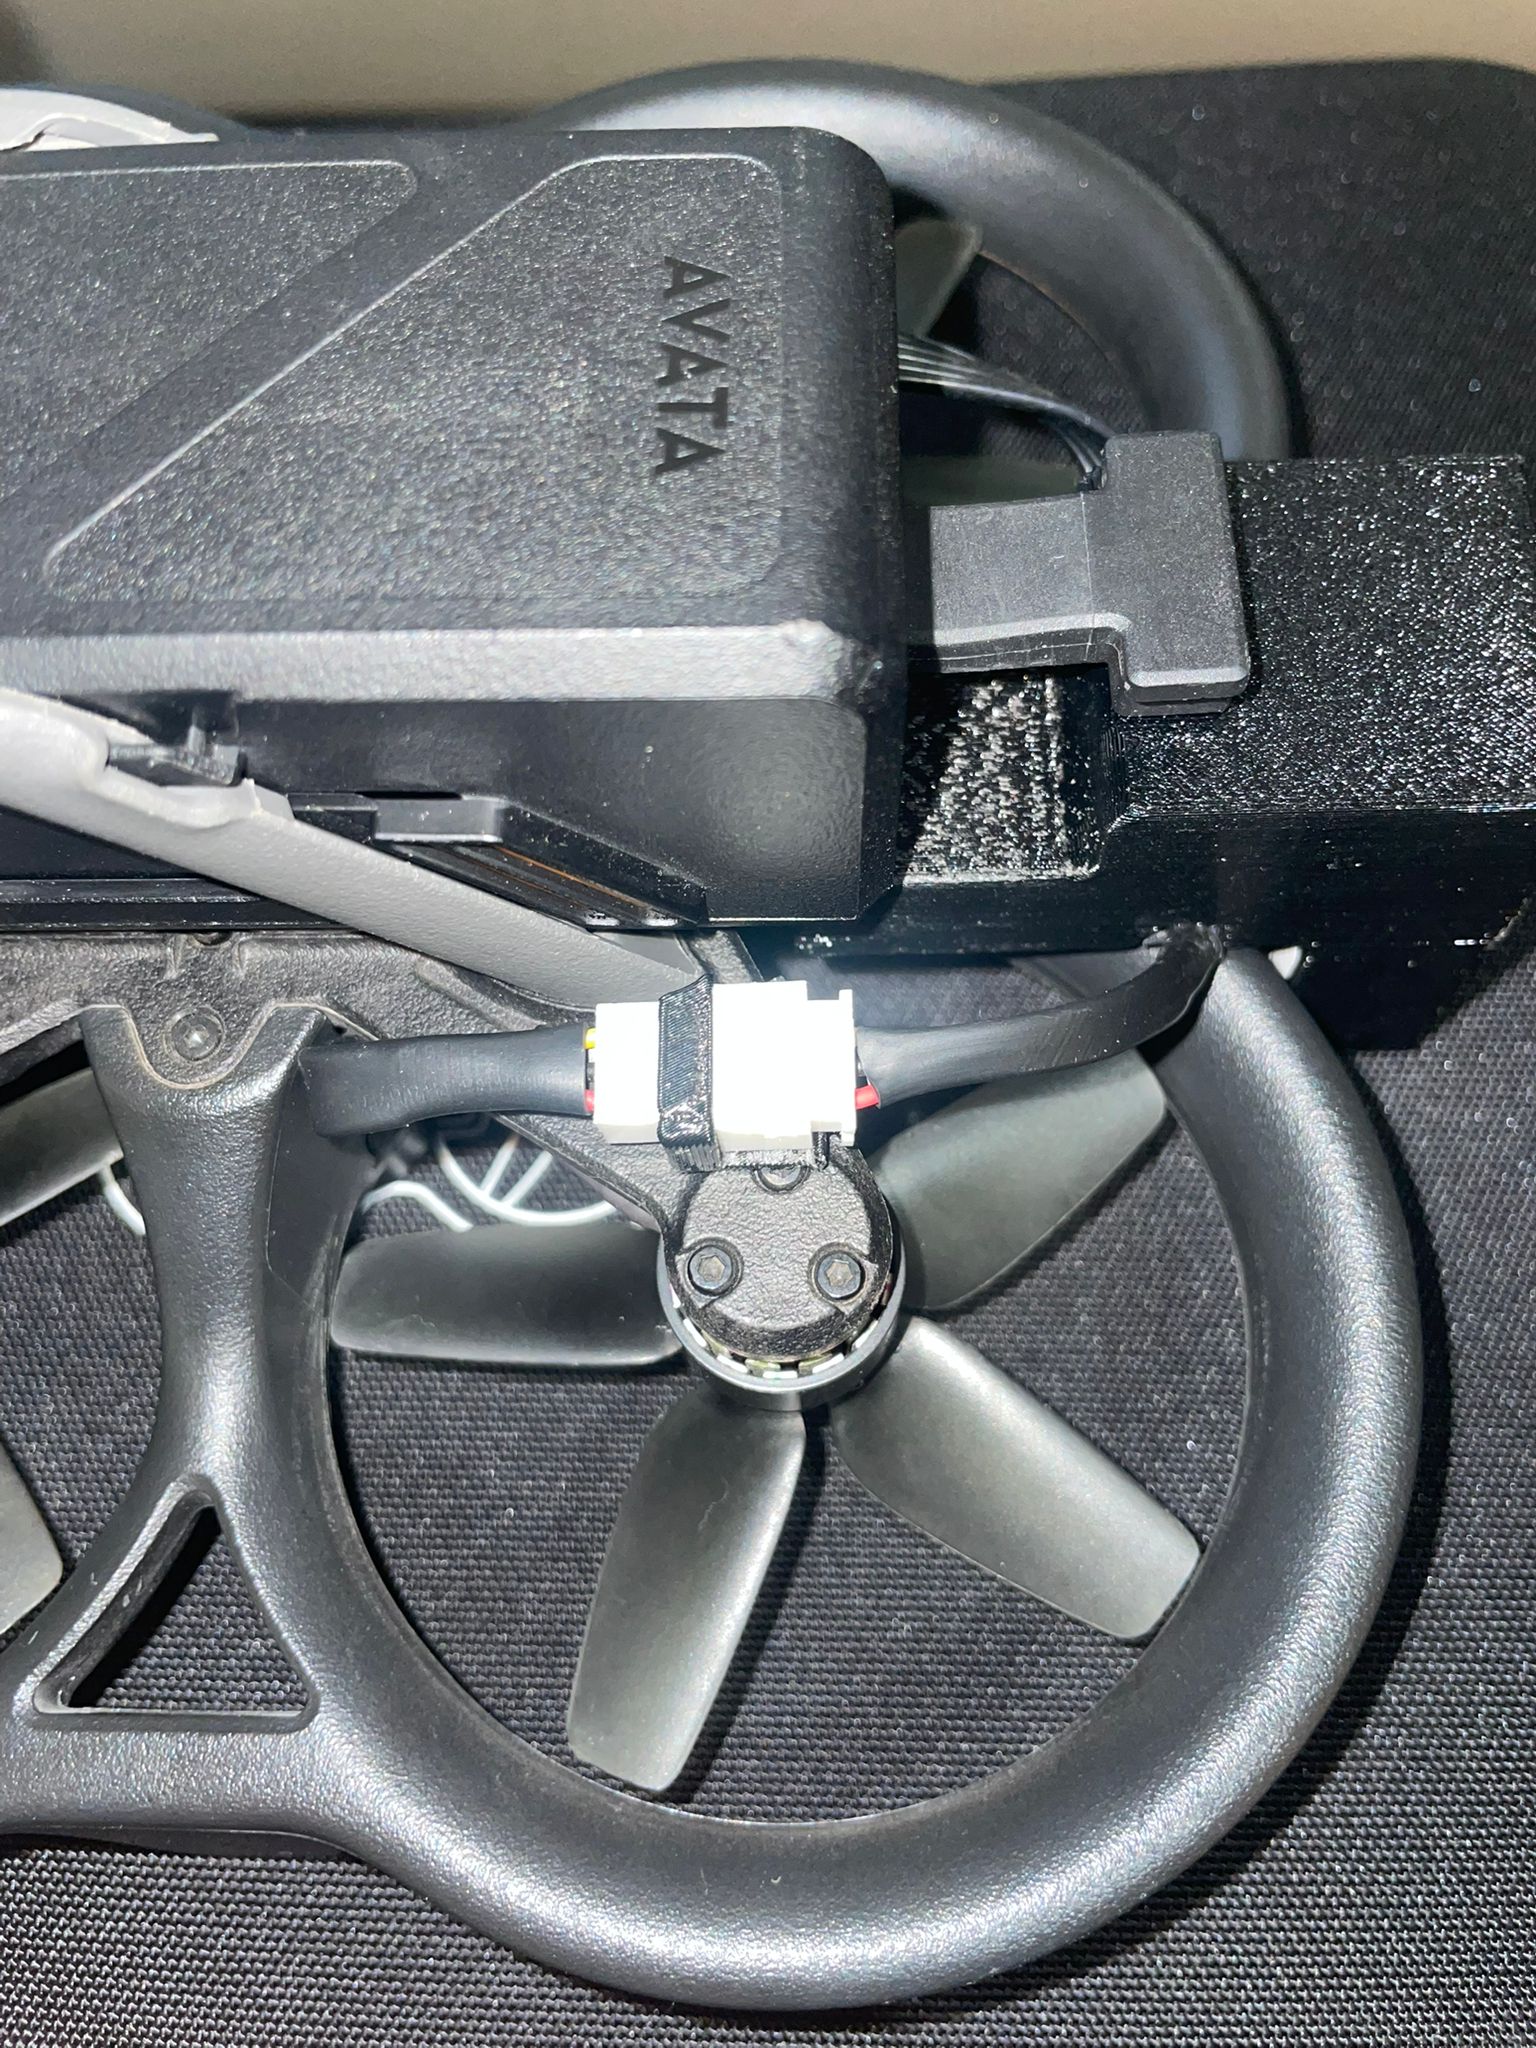
Check the battery connection to the rear unit
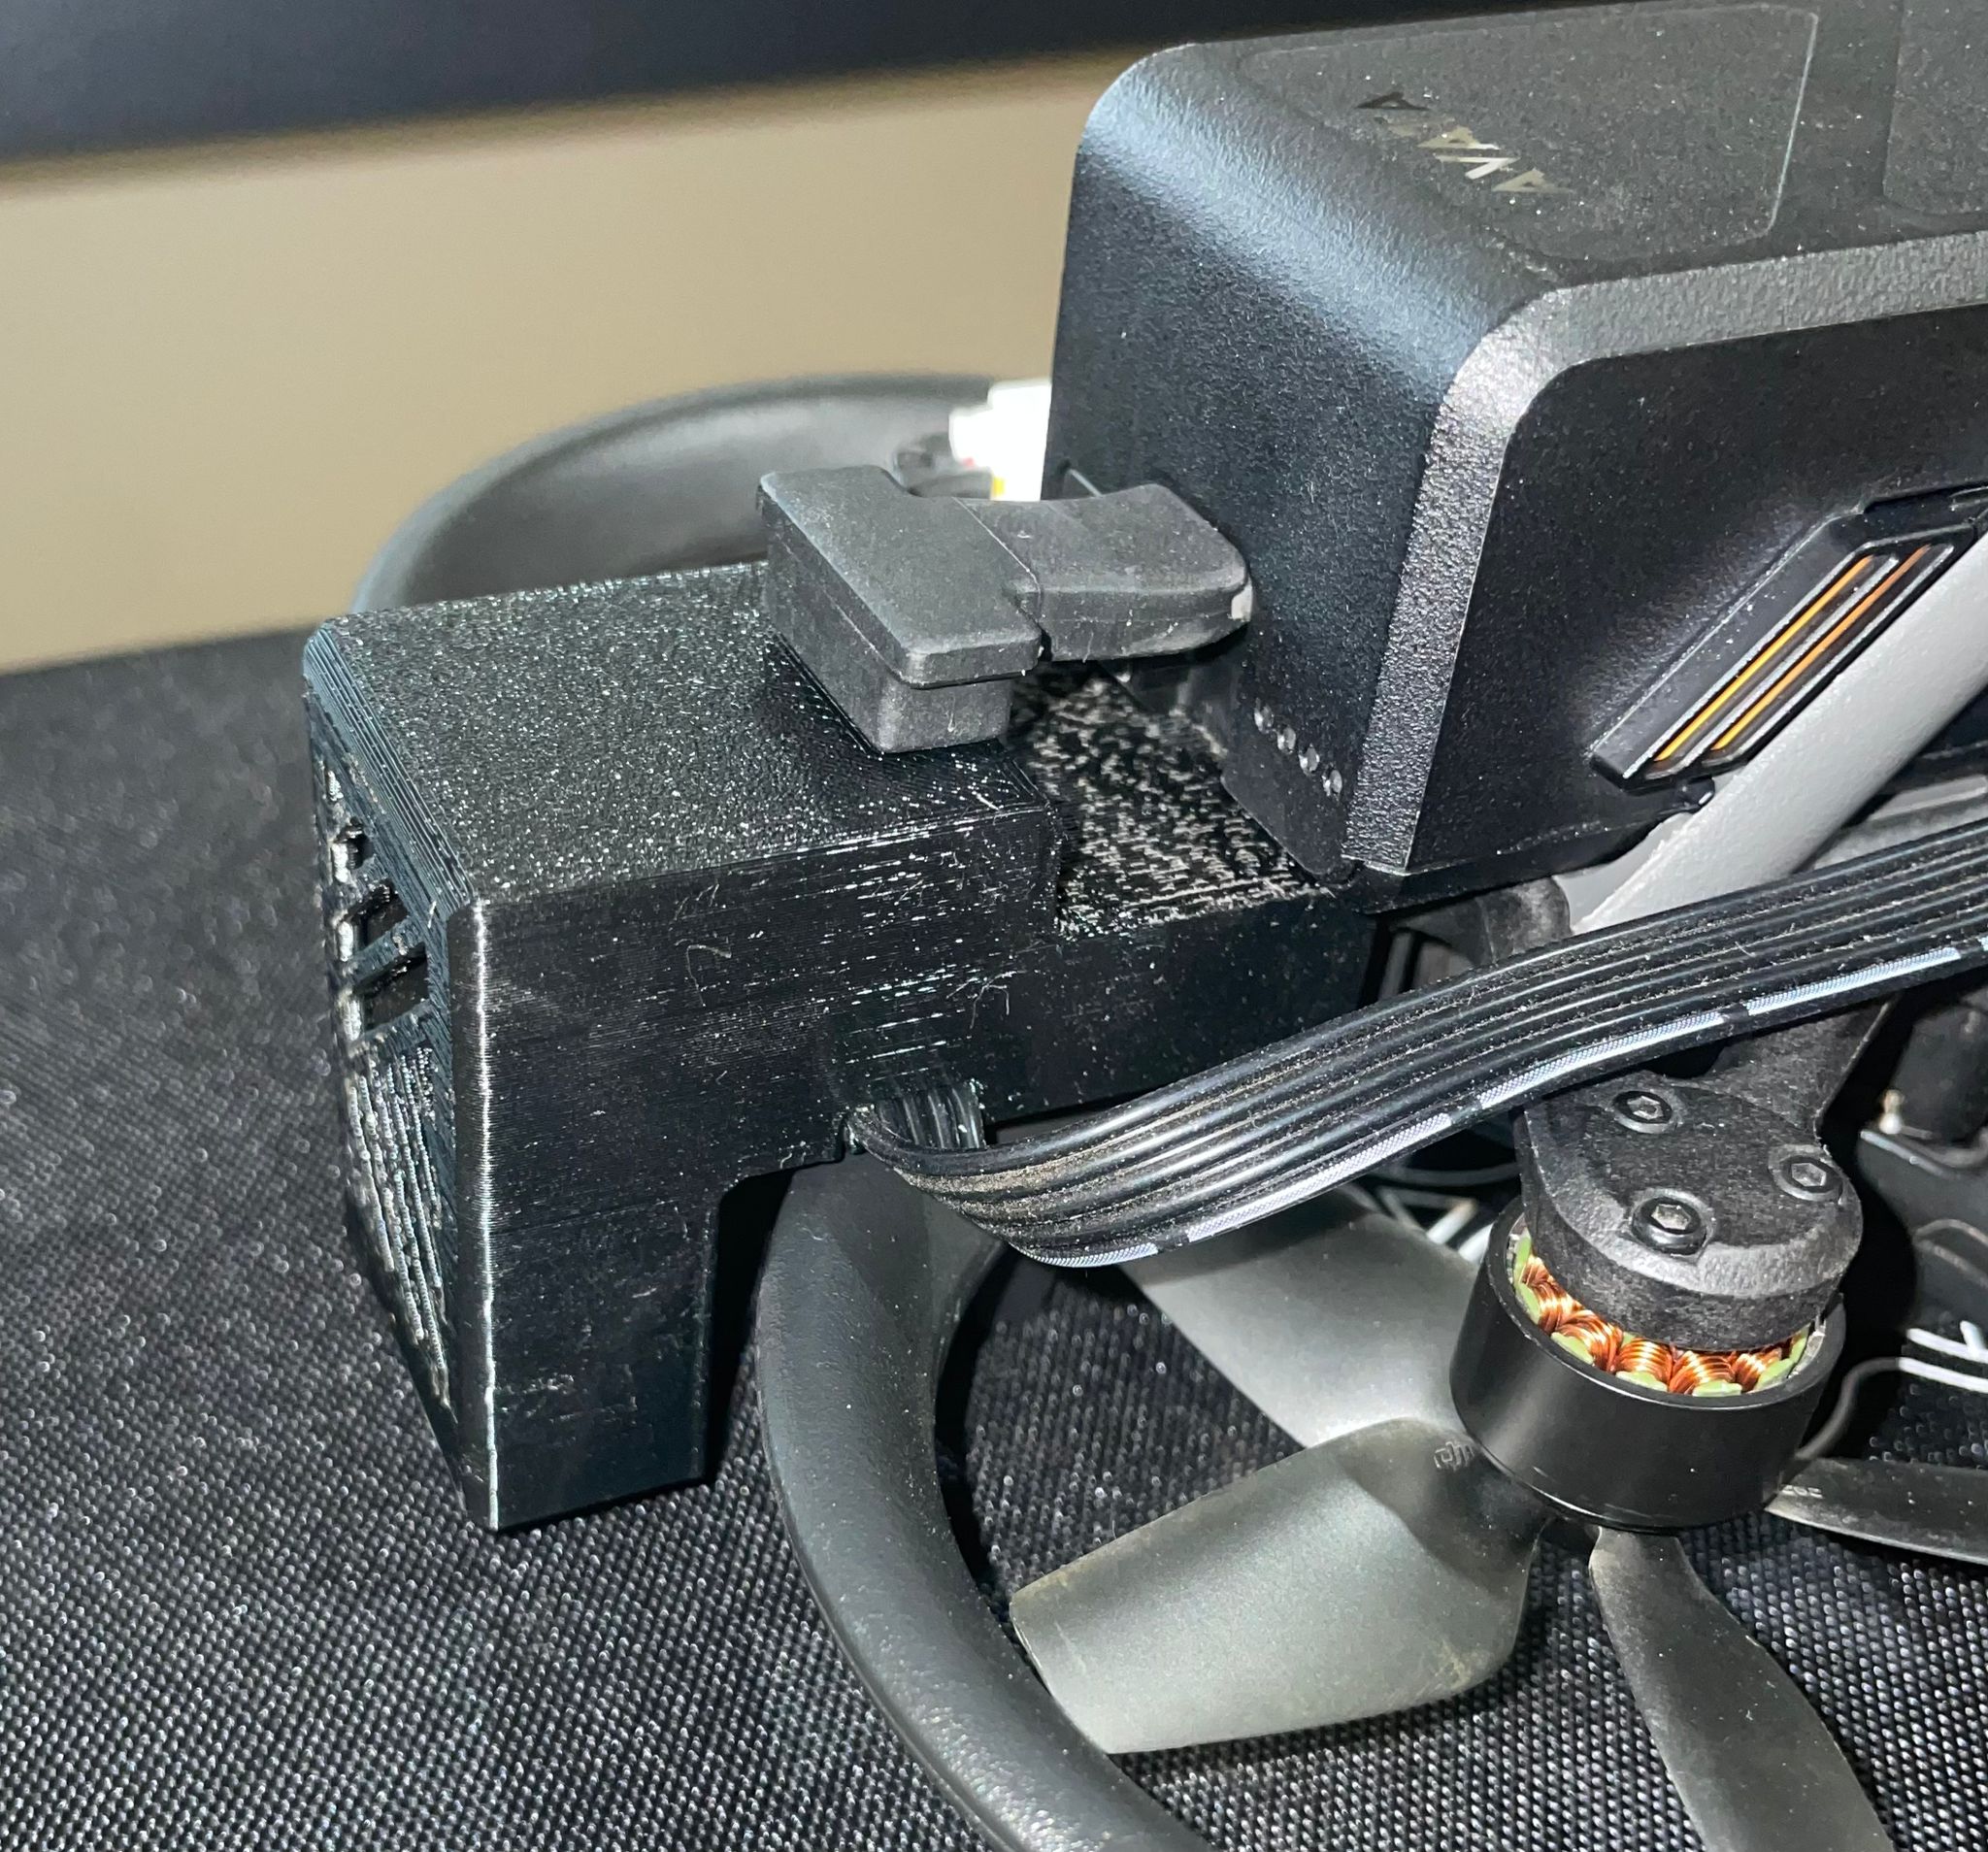
Check that the front unit is seated properly and has no play
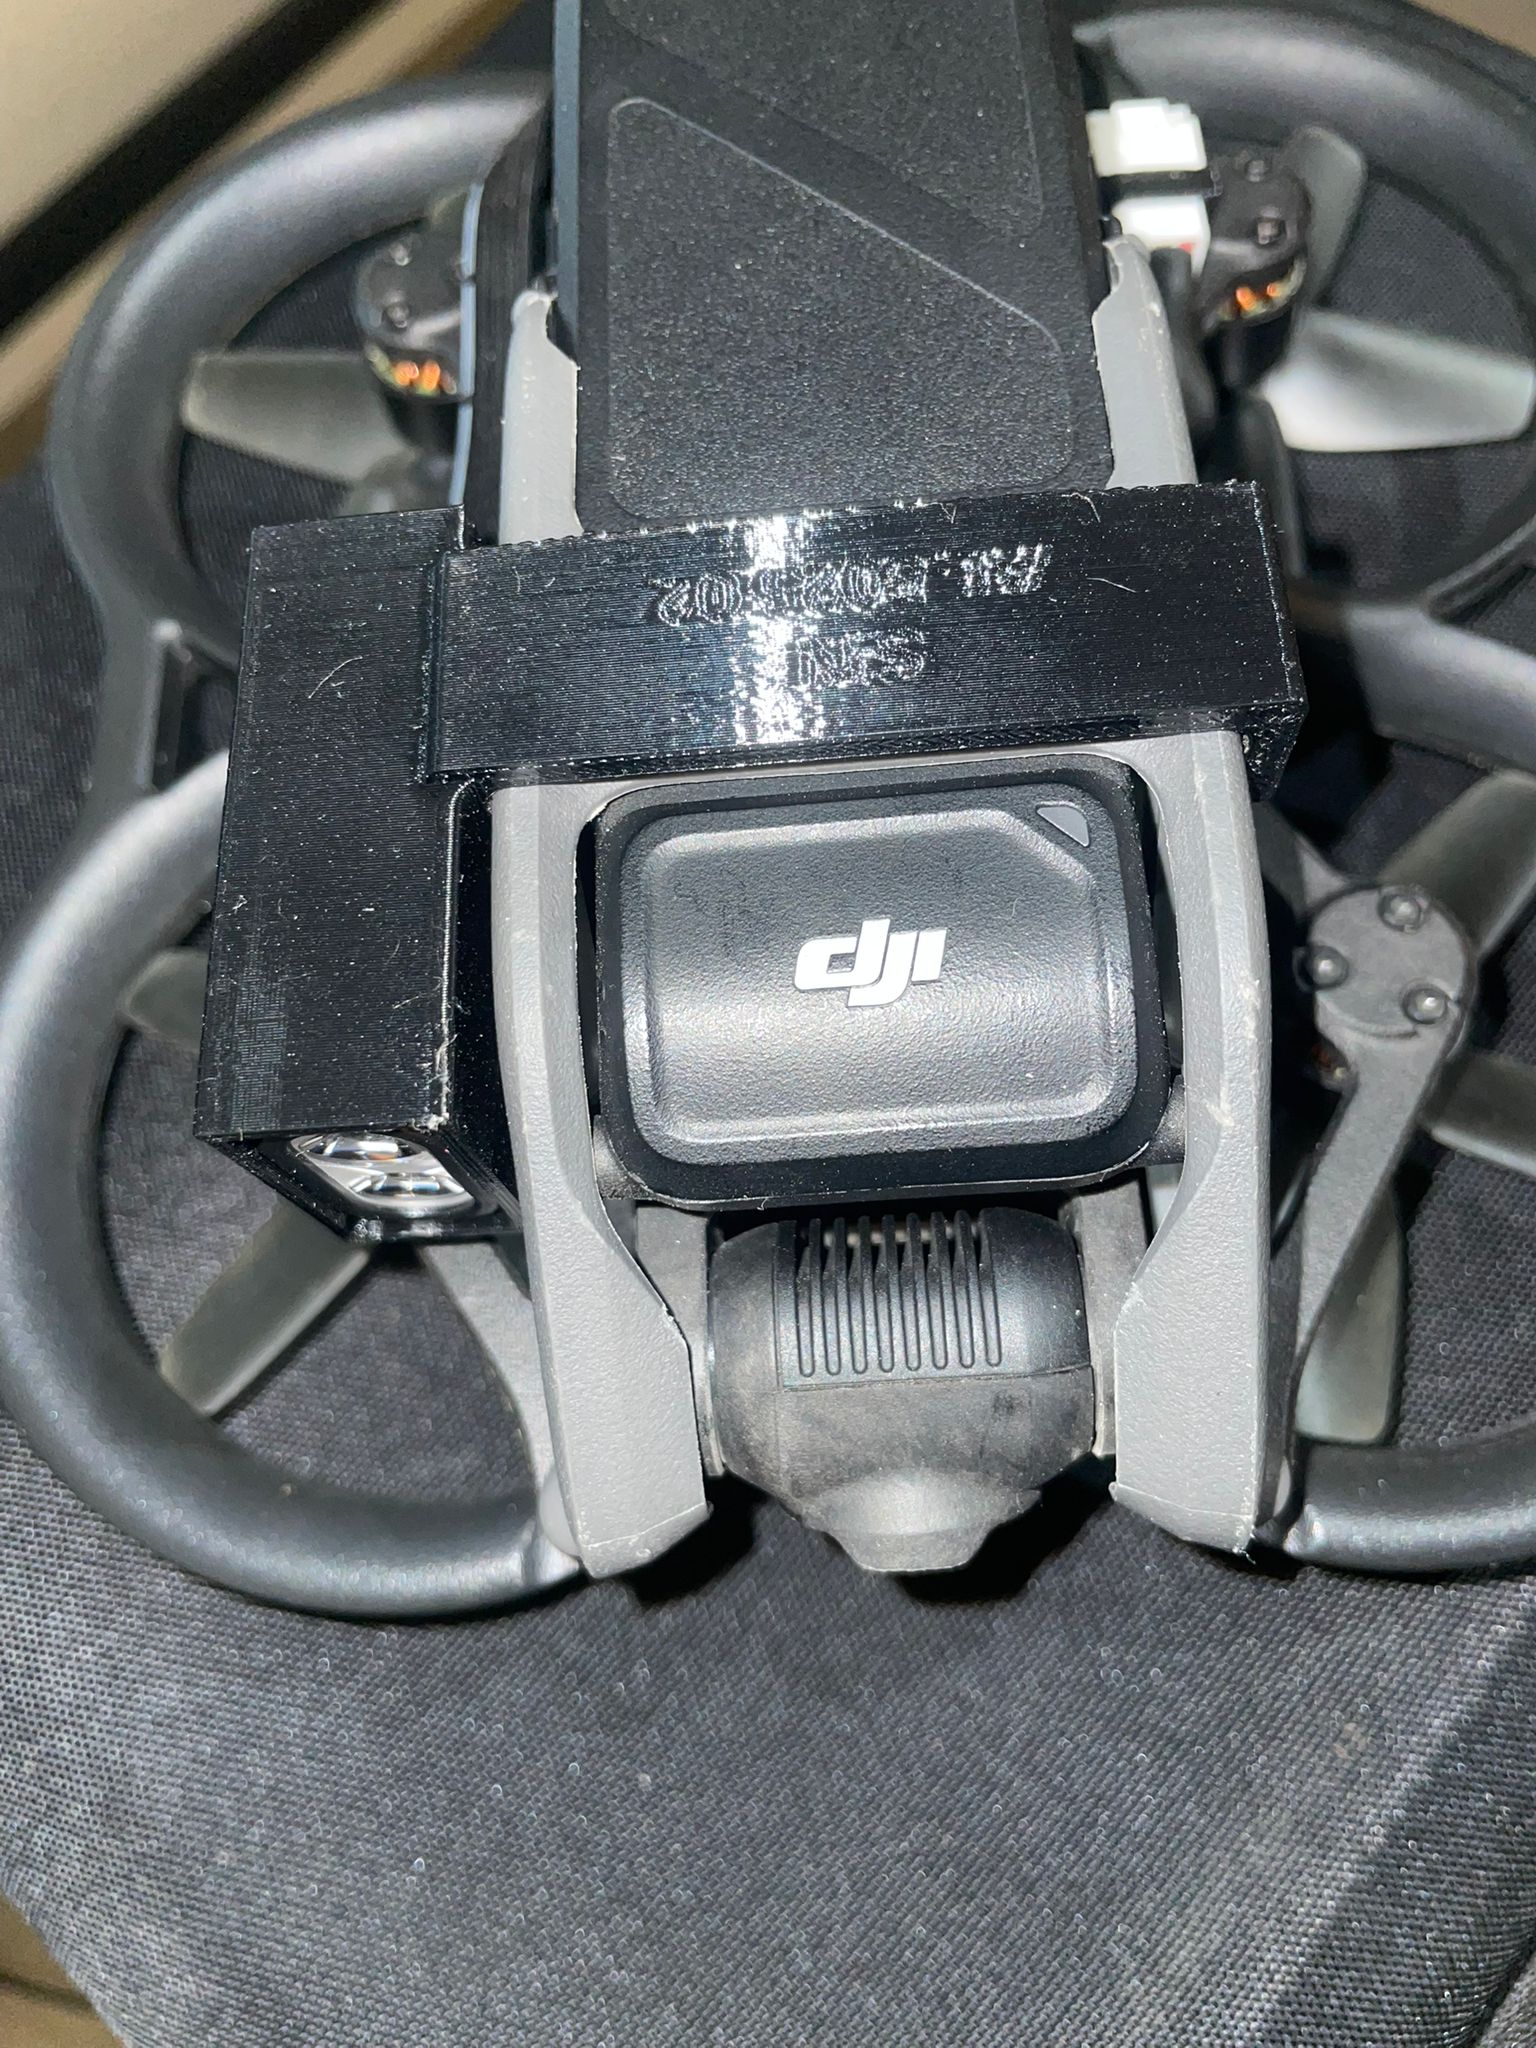
Check the black cable connection to the bottom of the front light
Check the memory-card door on the drone
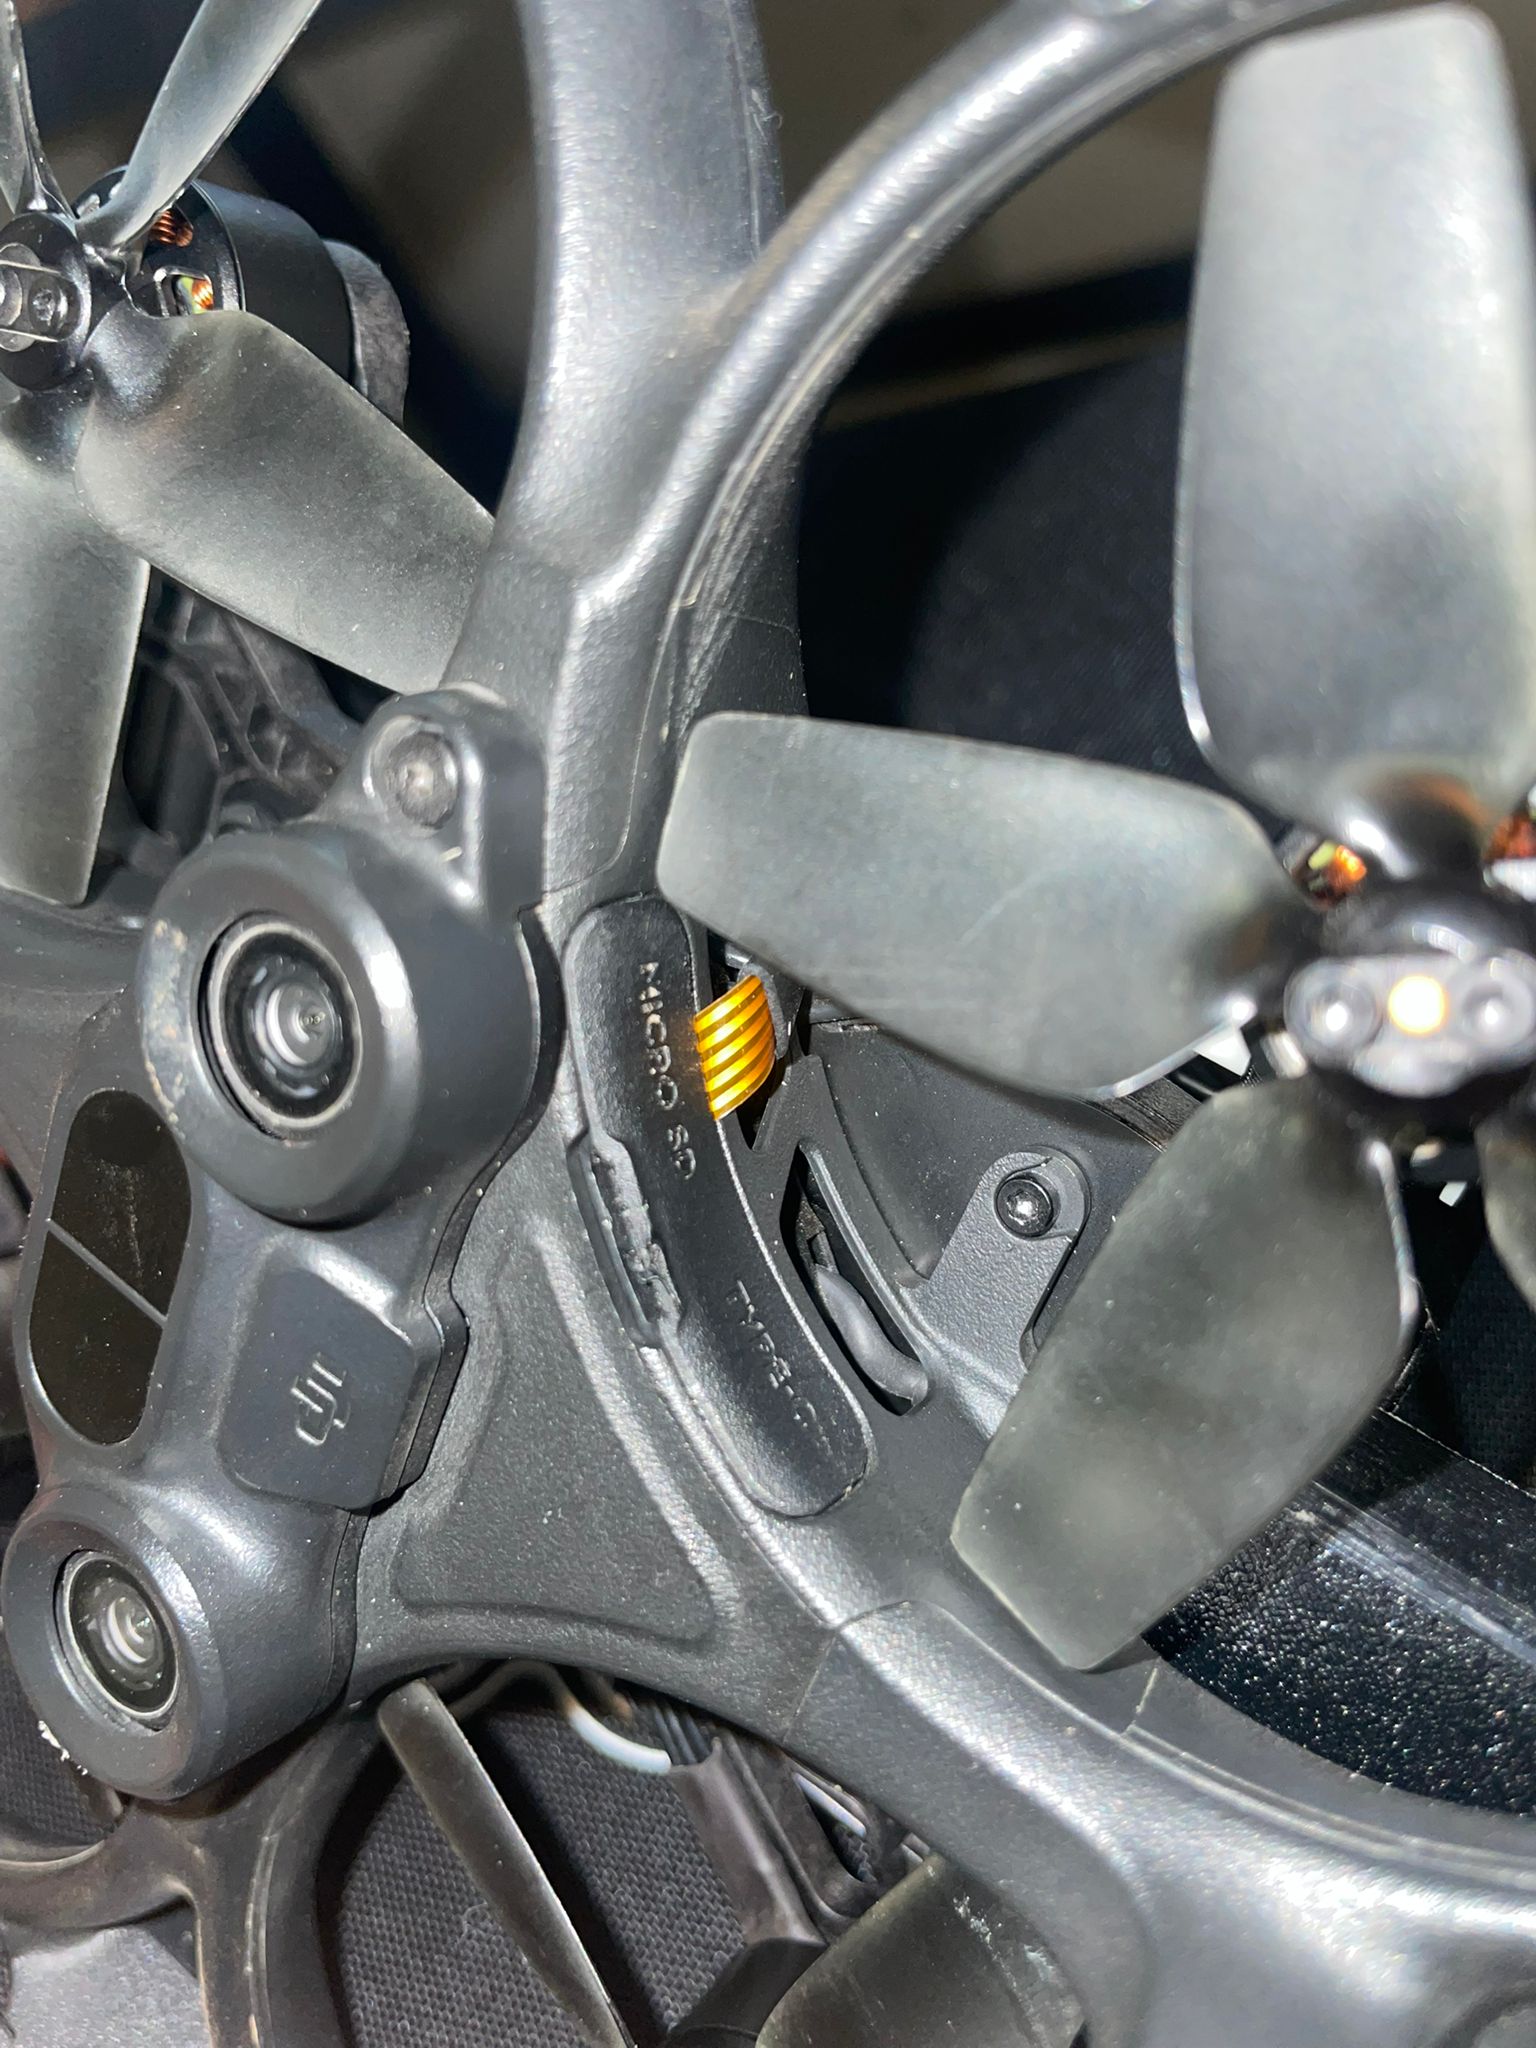
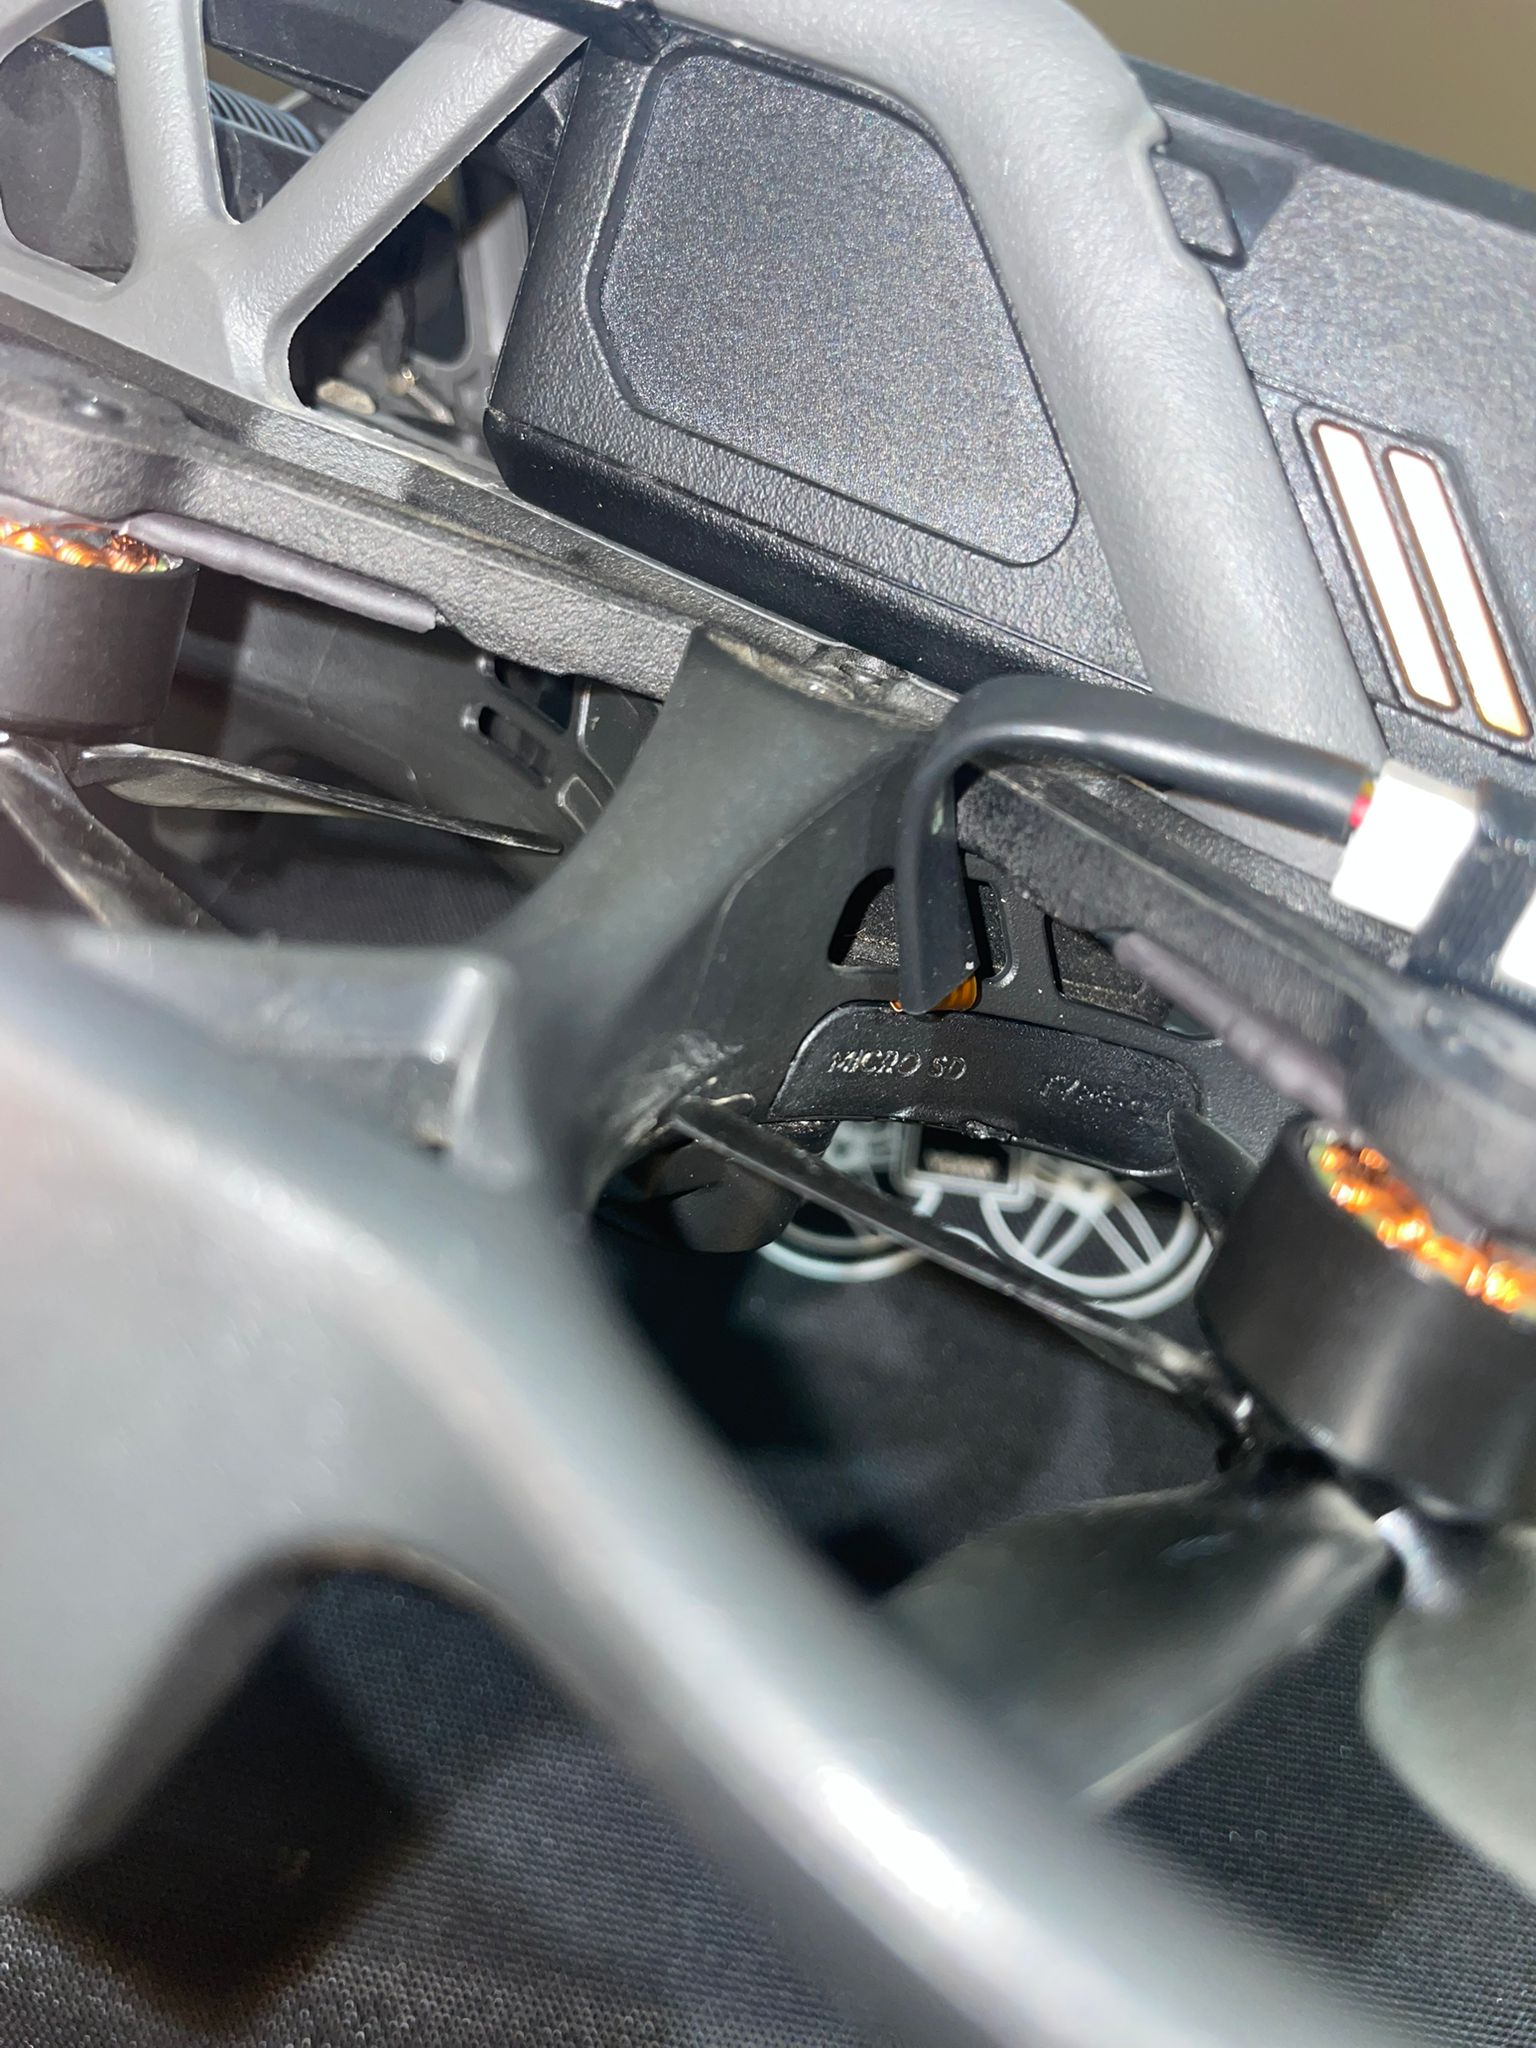
- Gently ensure the door is fully closed and the propeller can rotate freely
- Ensure the flexible cable exits the door straight without bending
Check the memory card connection to the rear unit
Make sure the connector is fully inserted so it does not enter the propeller area during flight
Step 2 – Power On
- Turn on the drone
- Turn on the controller
- Turn on the goggles
- Wait for the full startup sequence until the drone video feed appears on the screen
Step 3 – System Operation
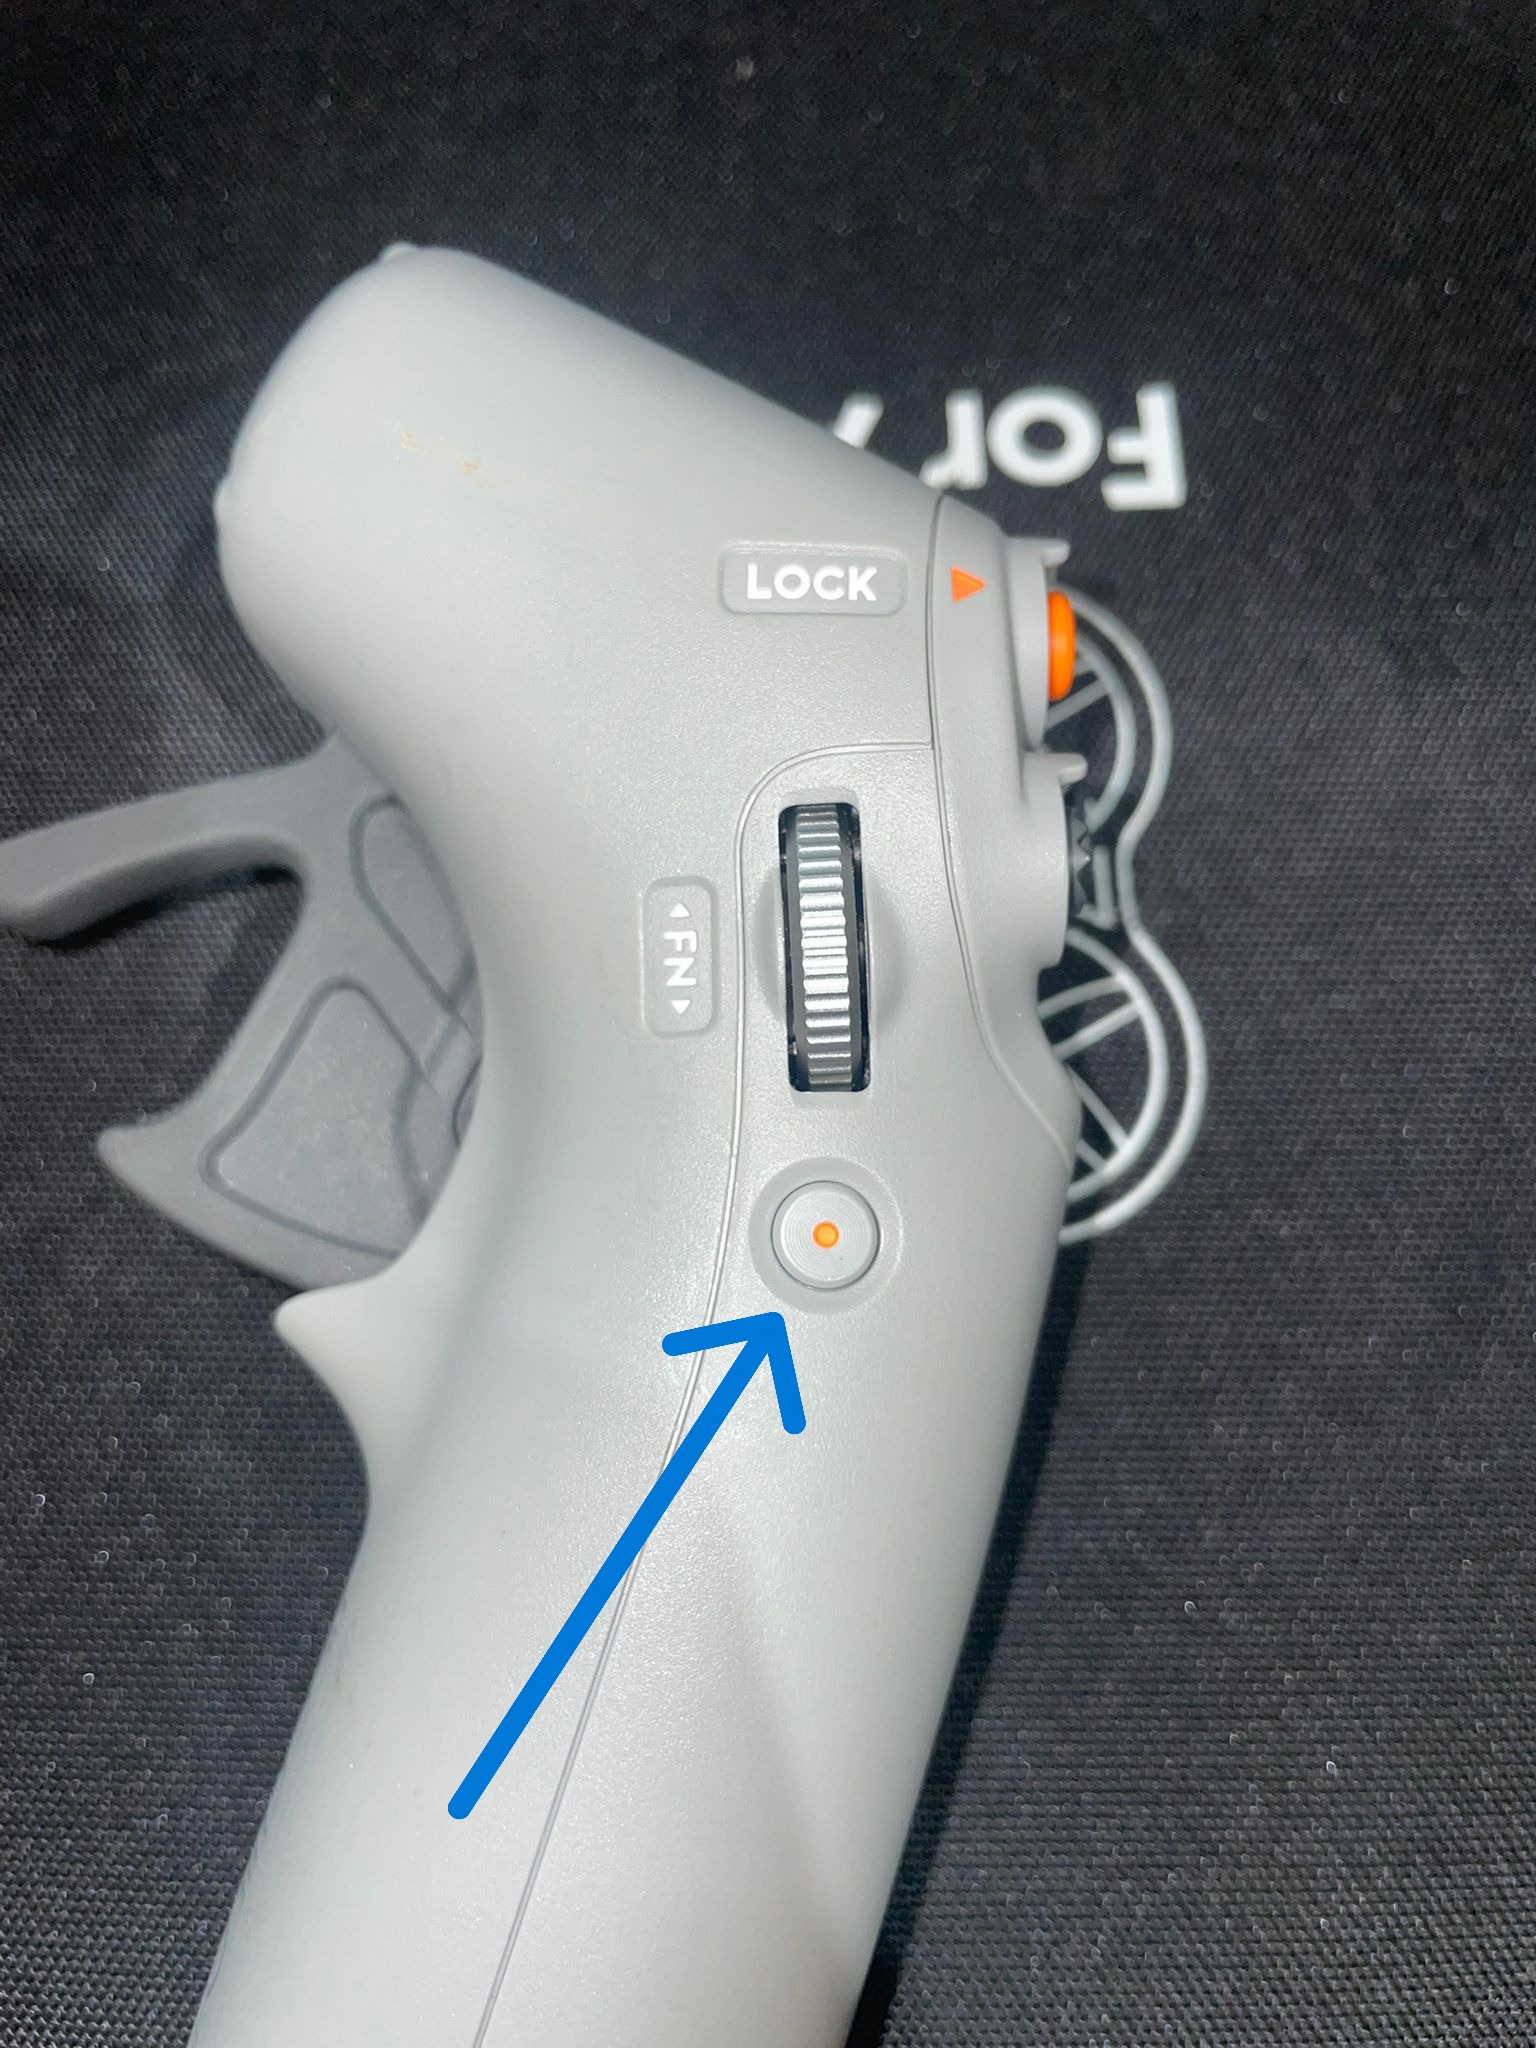
Press the photo button on the controller — after ~5 seconds the lights will turn on
Operational Tips:
- Turn the system off and on twice to verify proper operation.
- You may turn the drone off and on during flight.
- Be sure to wait for the flashlight to turn on before pressing again to turn it off - and vice versa.
Important Note
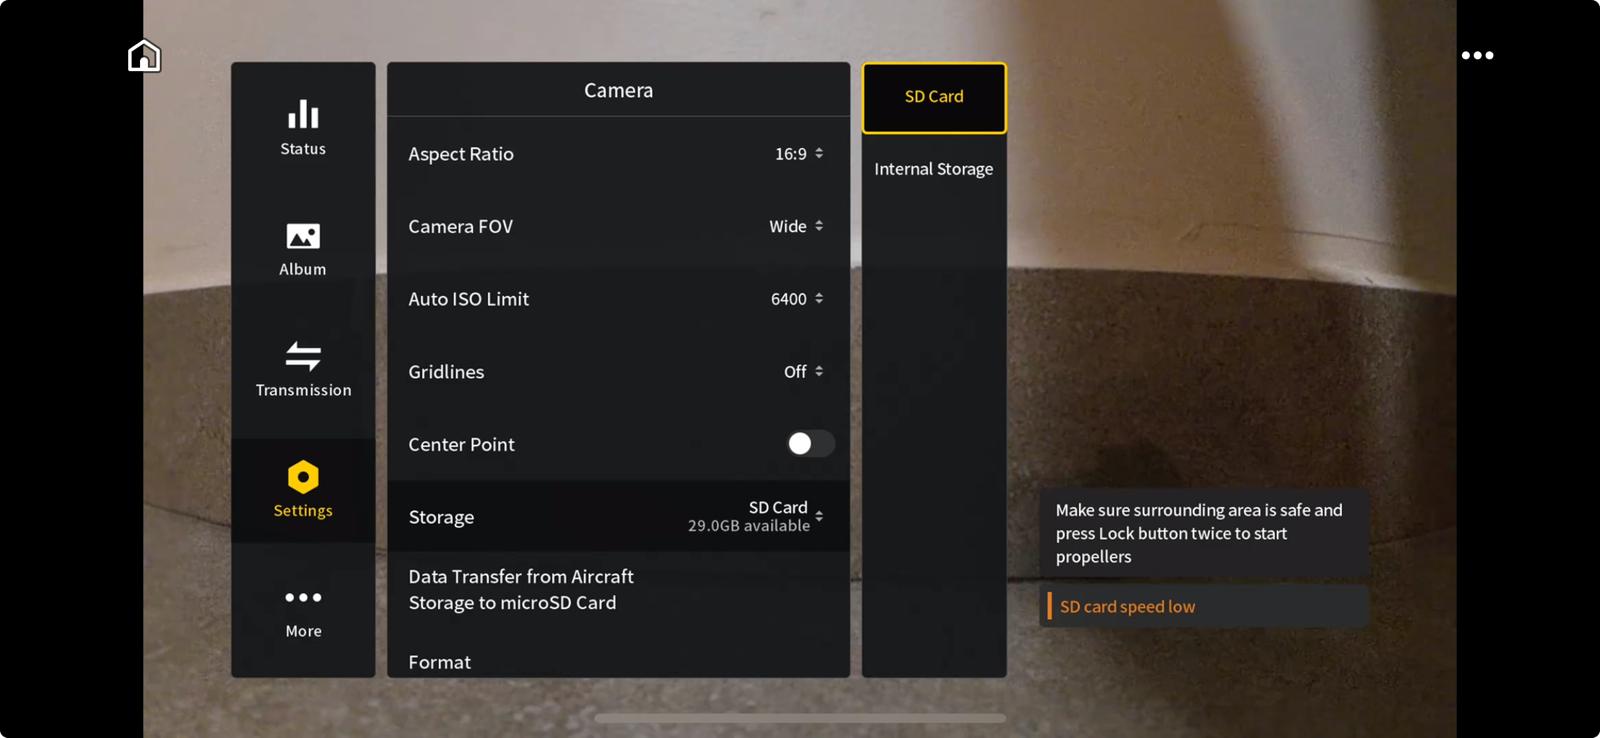
The drone should show "SD Slow", this is the desired state:
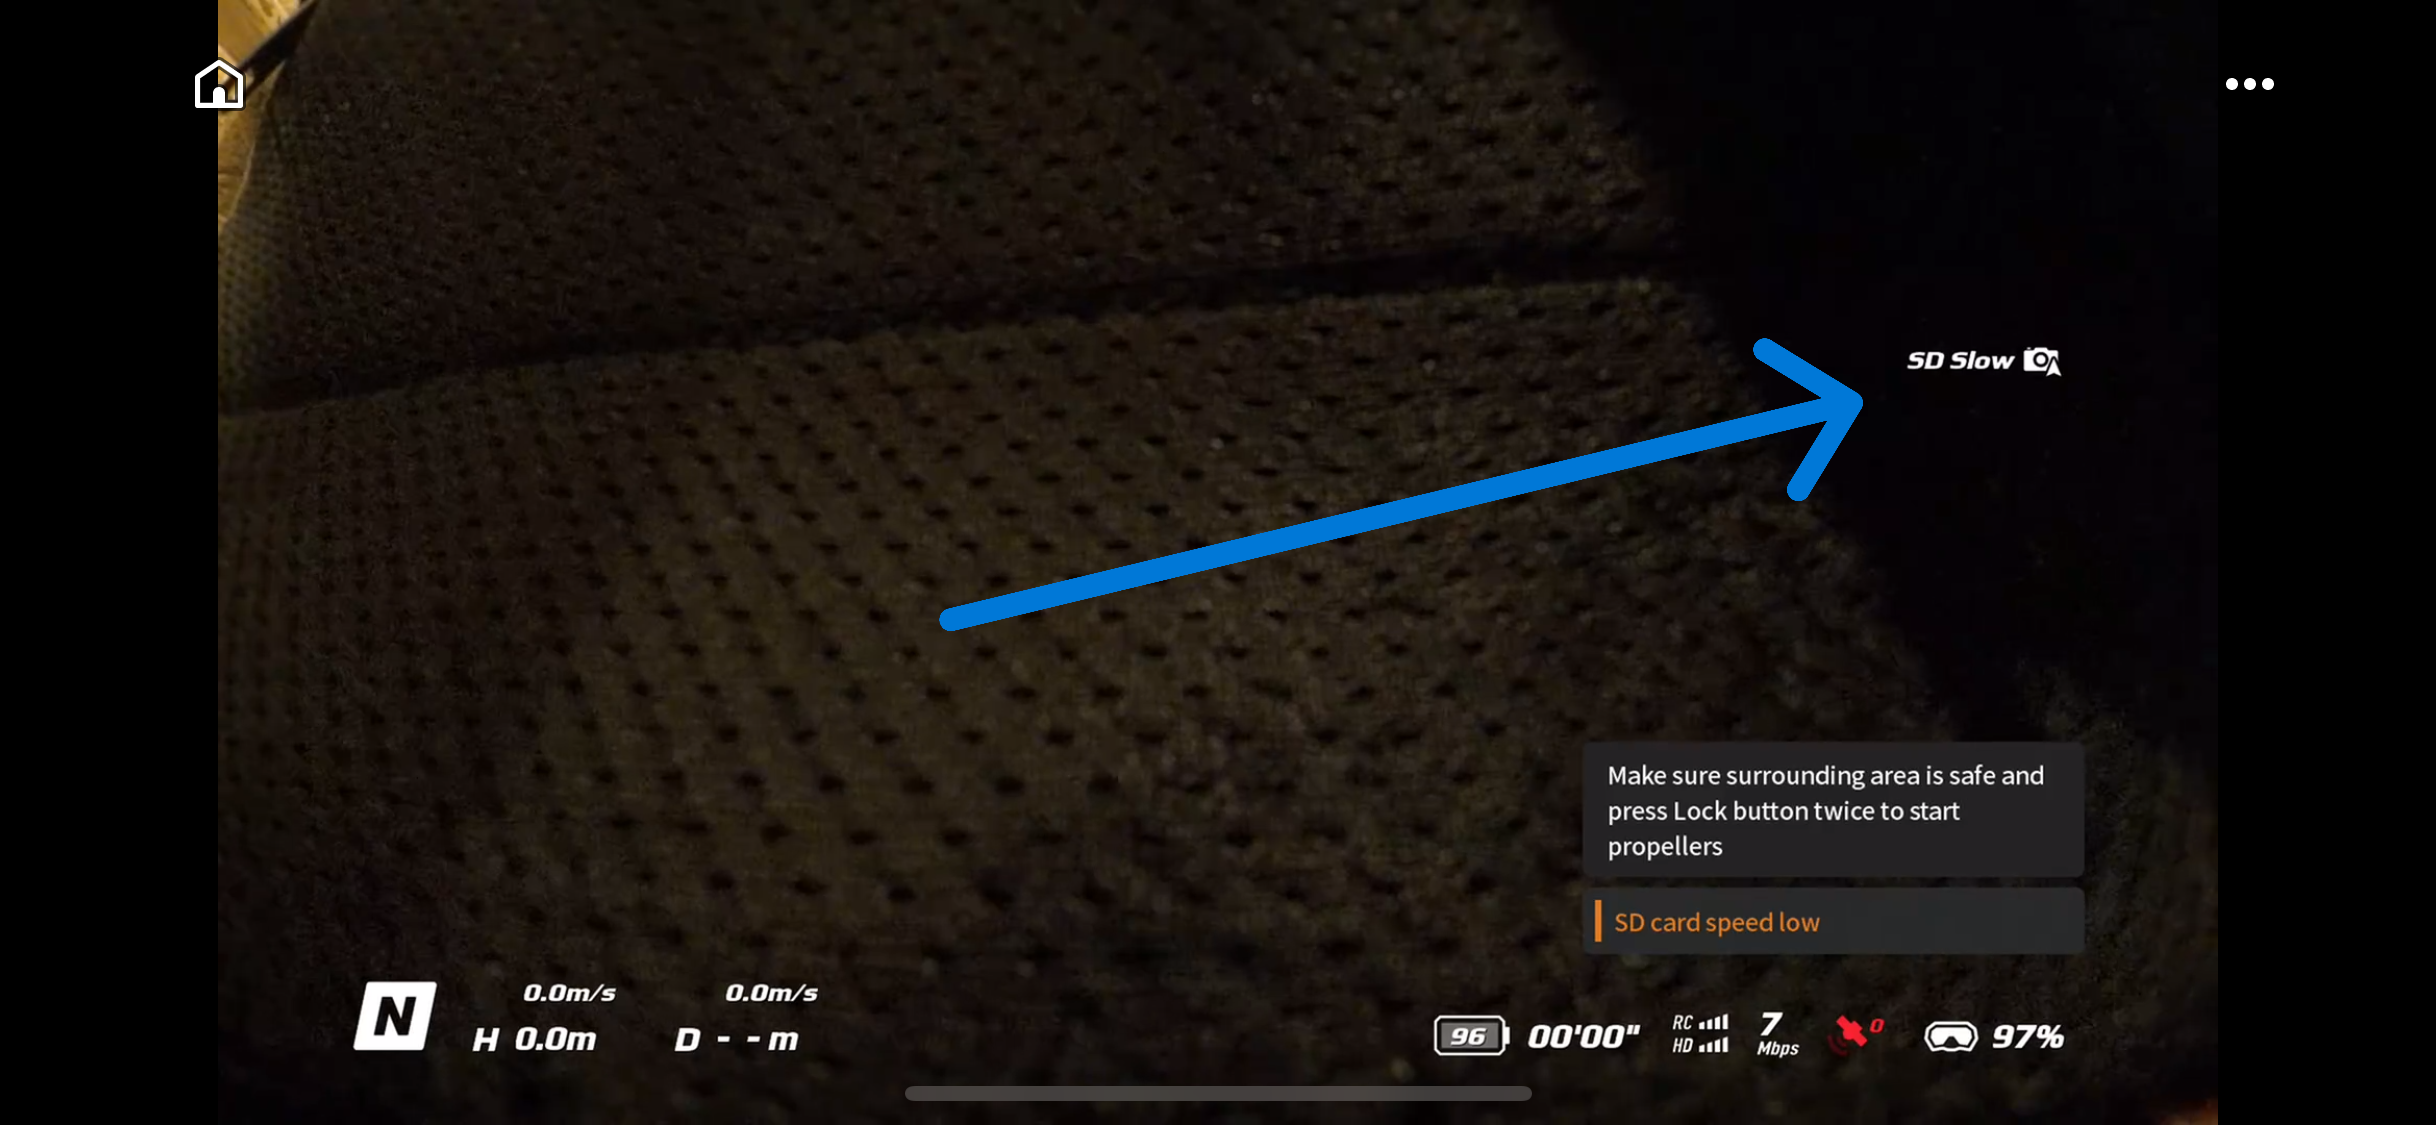
If it does not appear, set up a photo on the memory card as shown below: