Installation Guide
Installation Guide
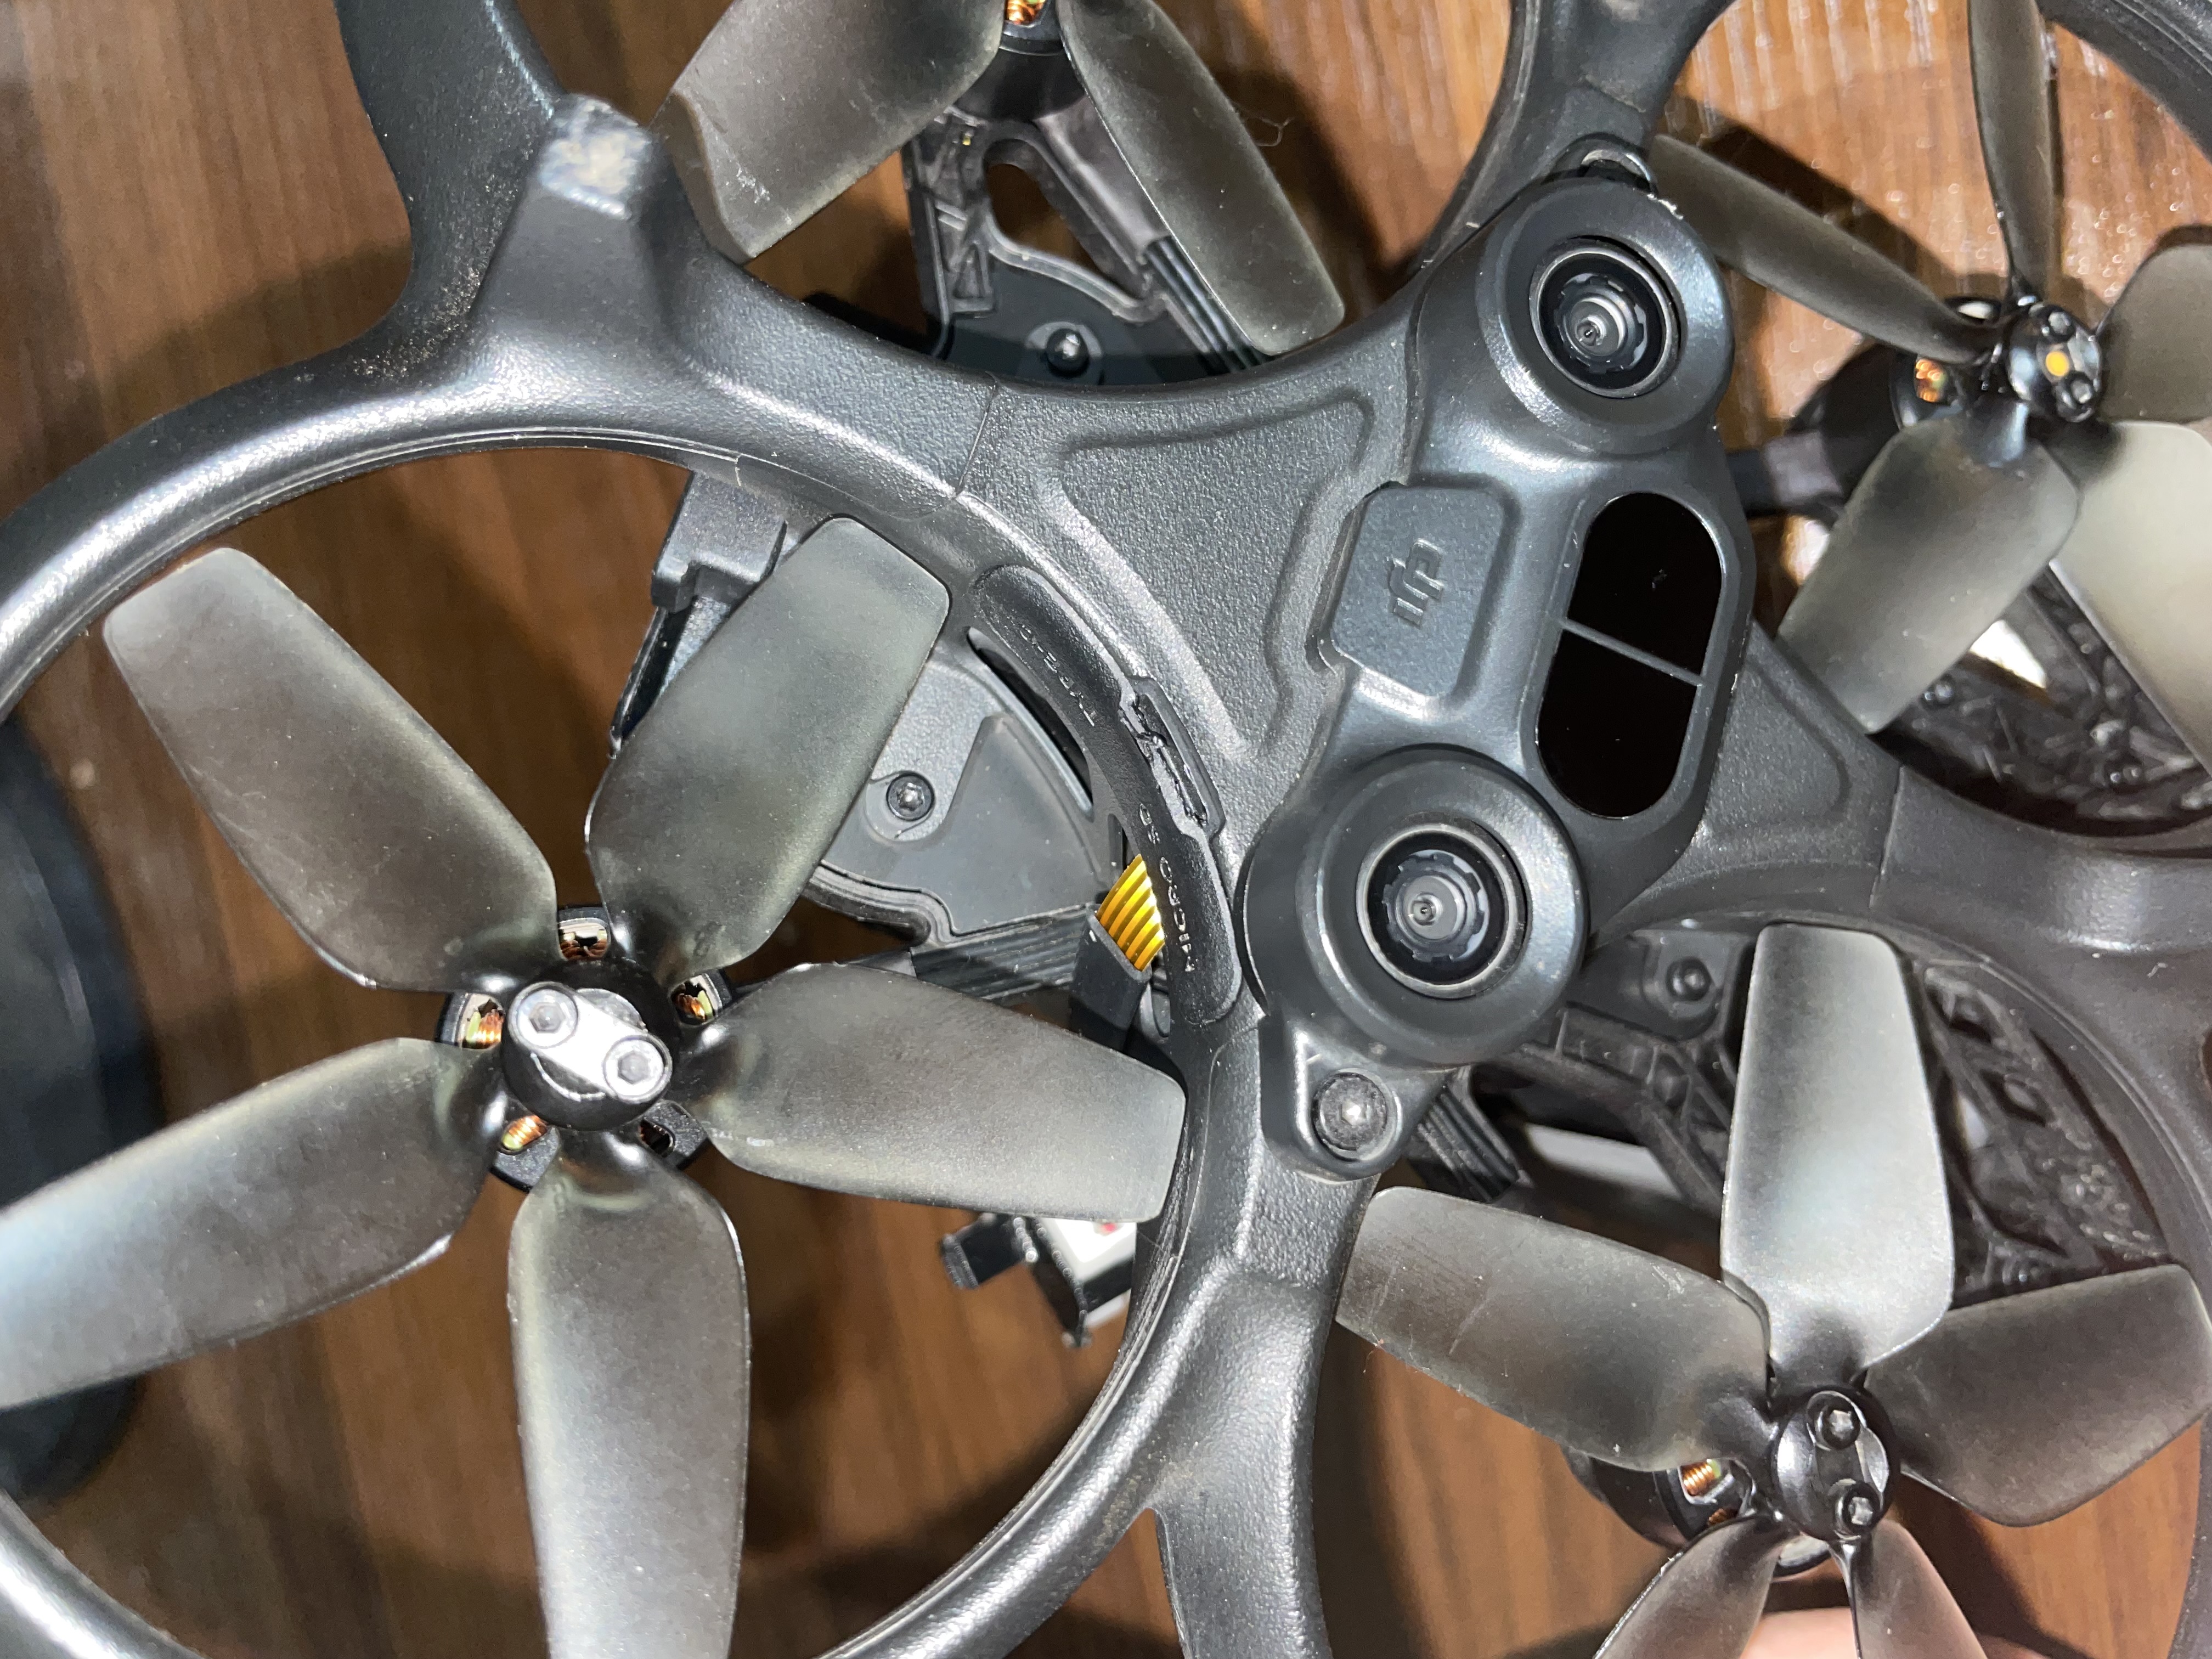
Step 1 – Insert the Memory Card
Insert the memory card into the slot located inside the left-rear propeller guard (as shown in the picture), on the drone-side inner wall.


Insert the card gently with the label facing downward. Guide the flexible cable upward toward the top of the drone. Close the card cover gently and ensure the propeller rotates freely.
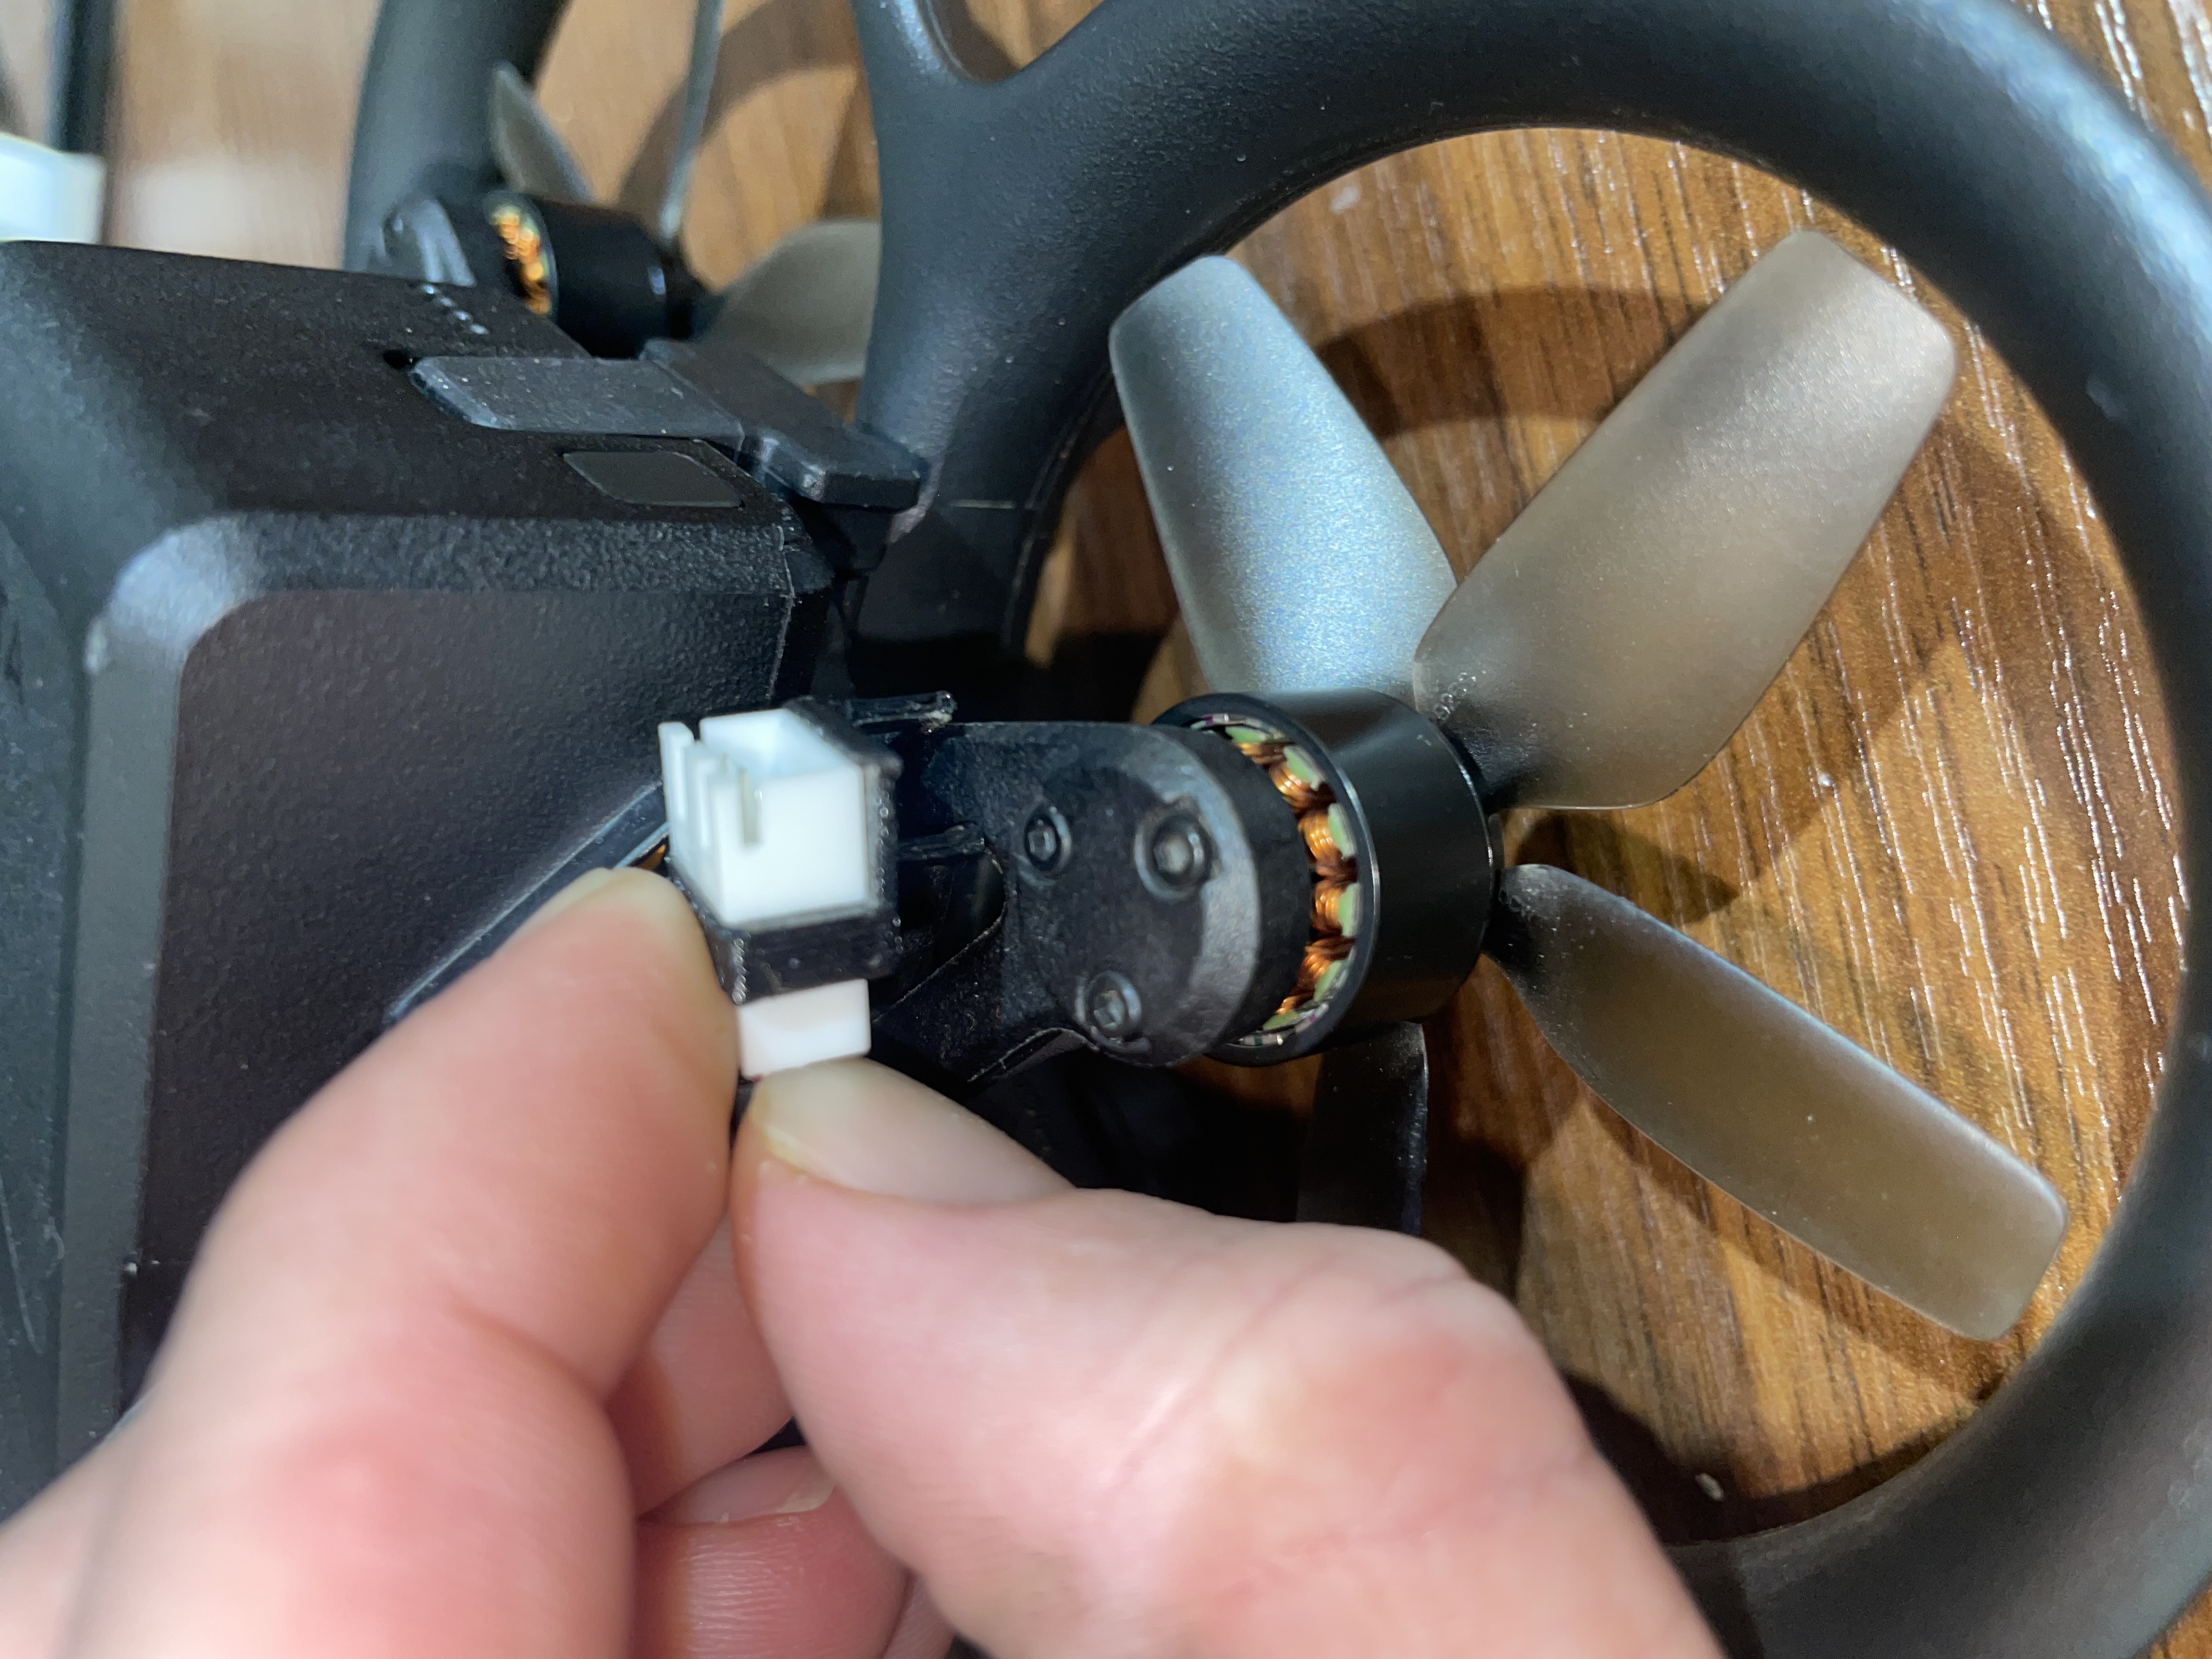
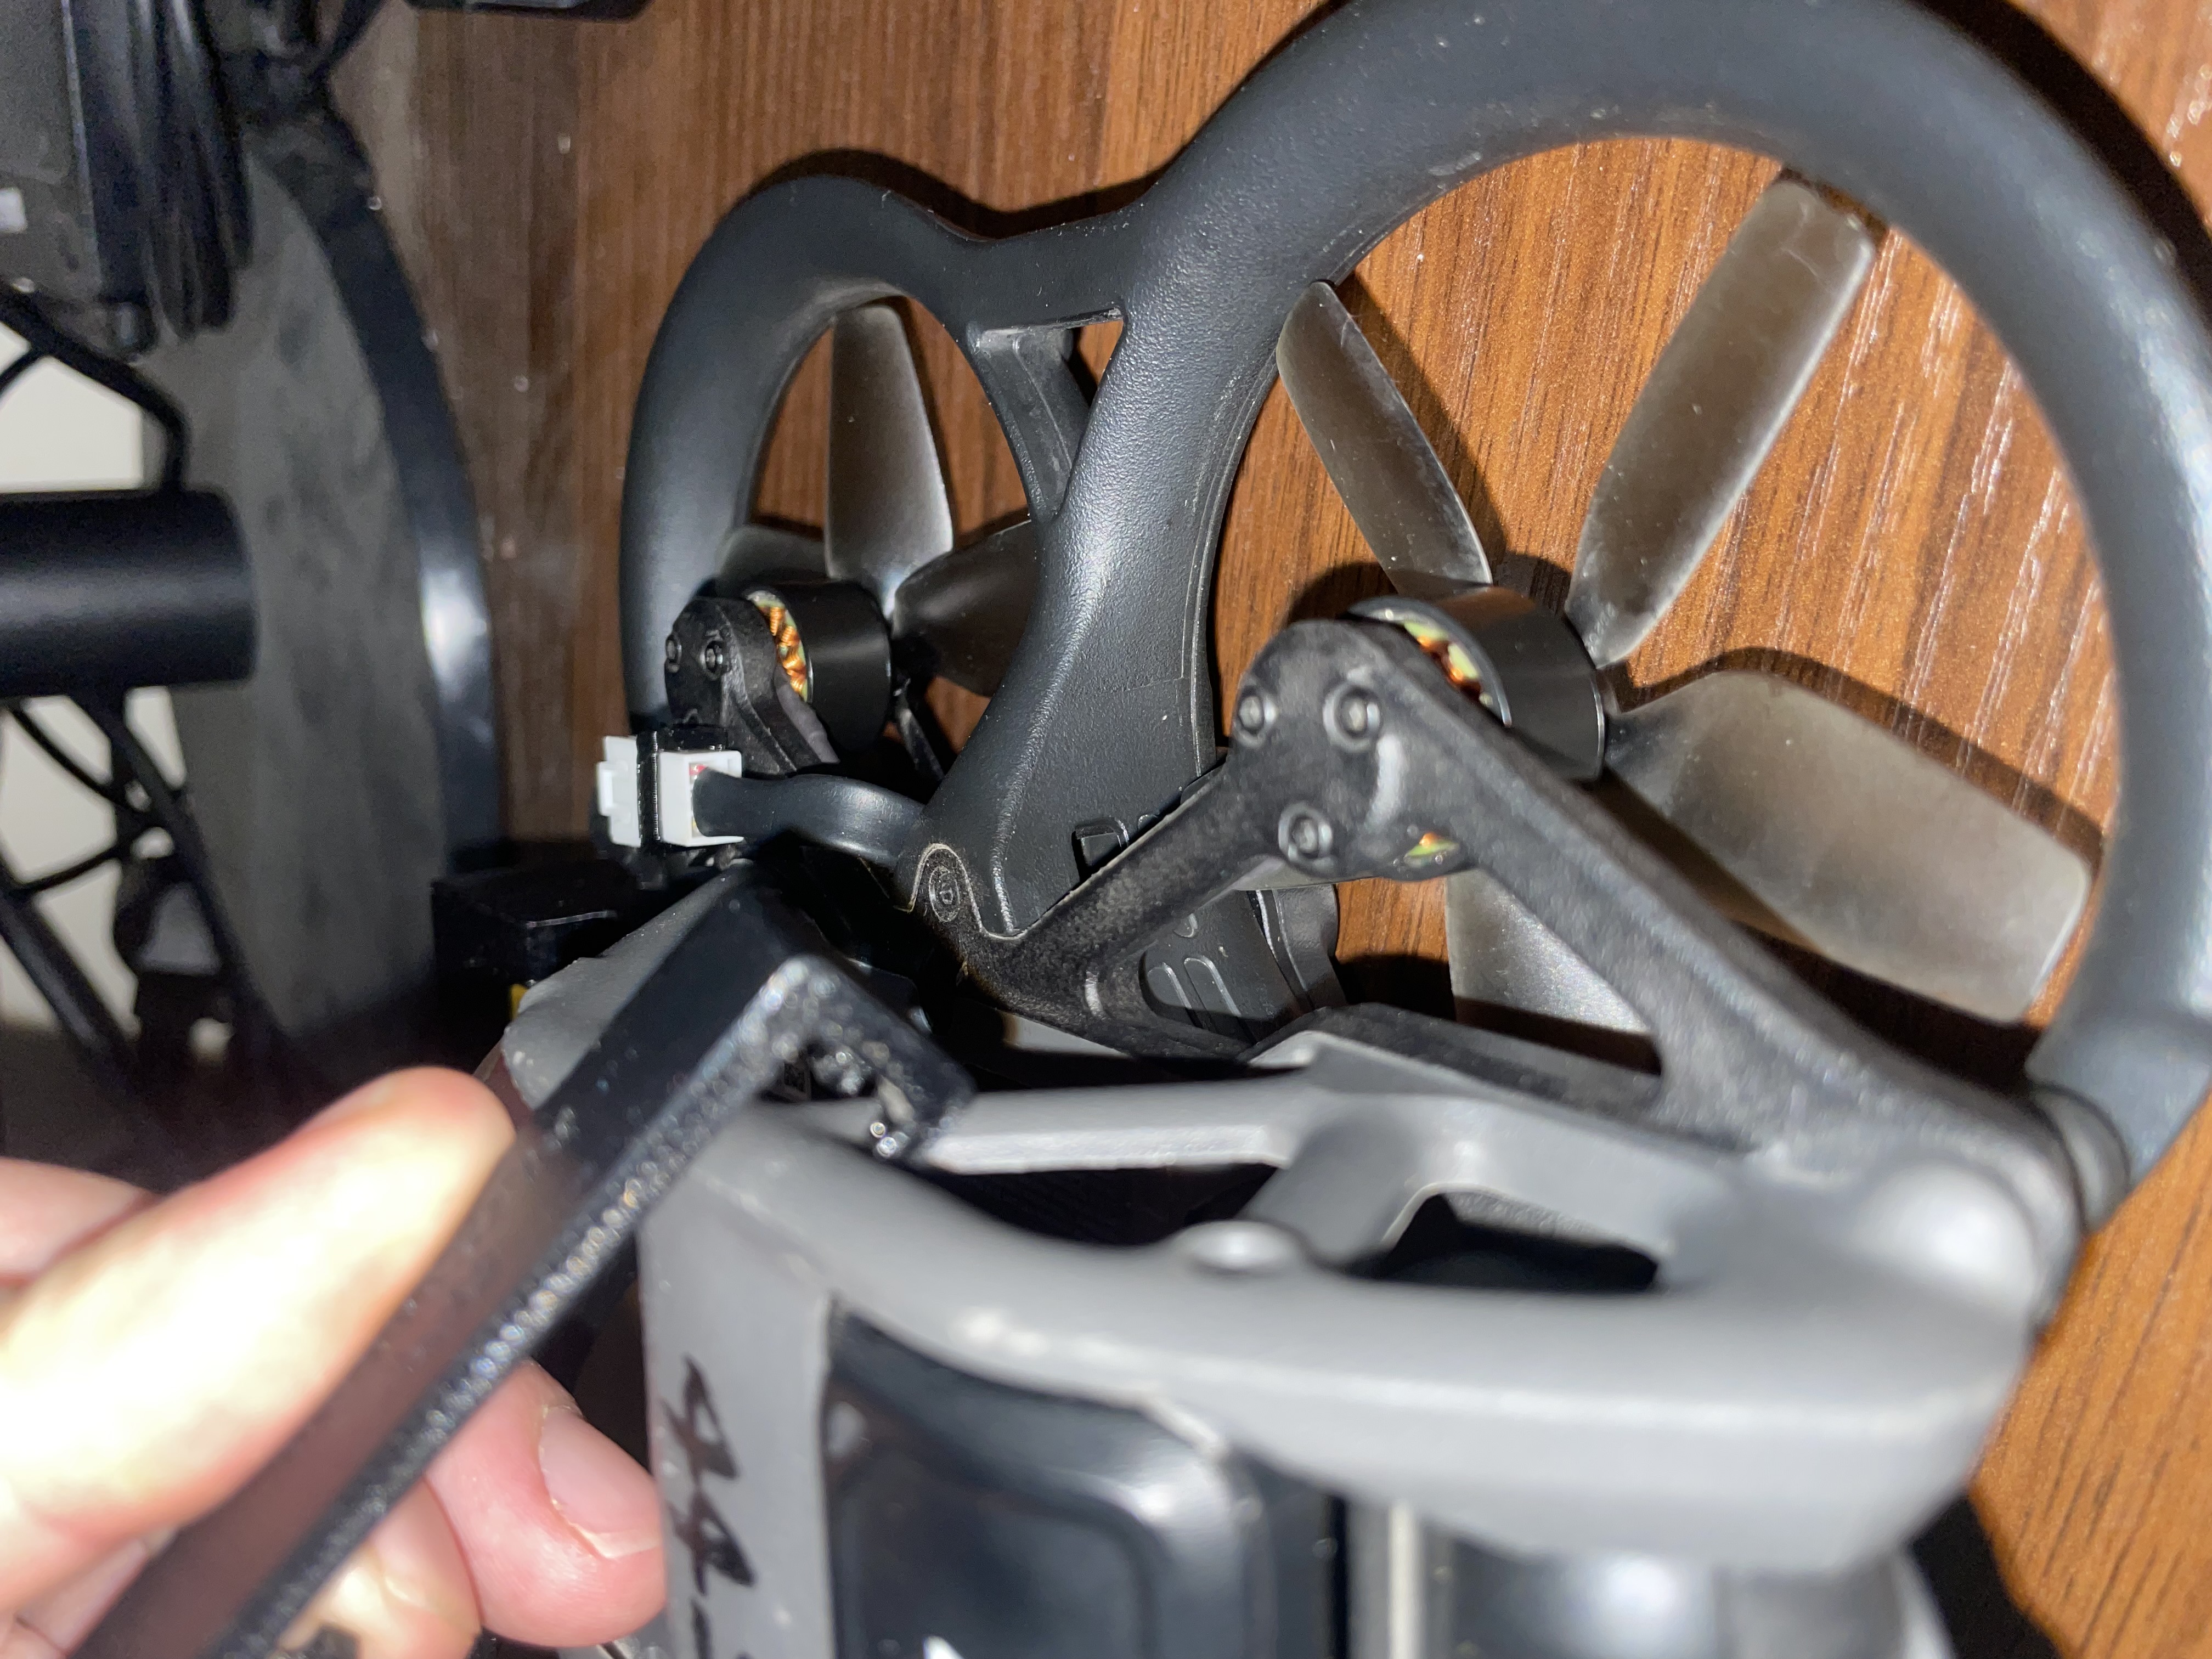
Step 2 – Secure the Memory Cable
Secure the connector of the memory card cable to the drone body using the clip, ensuring it does not interfere with the propeller.

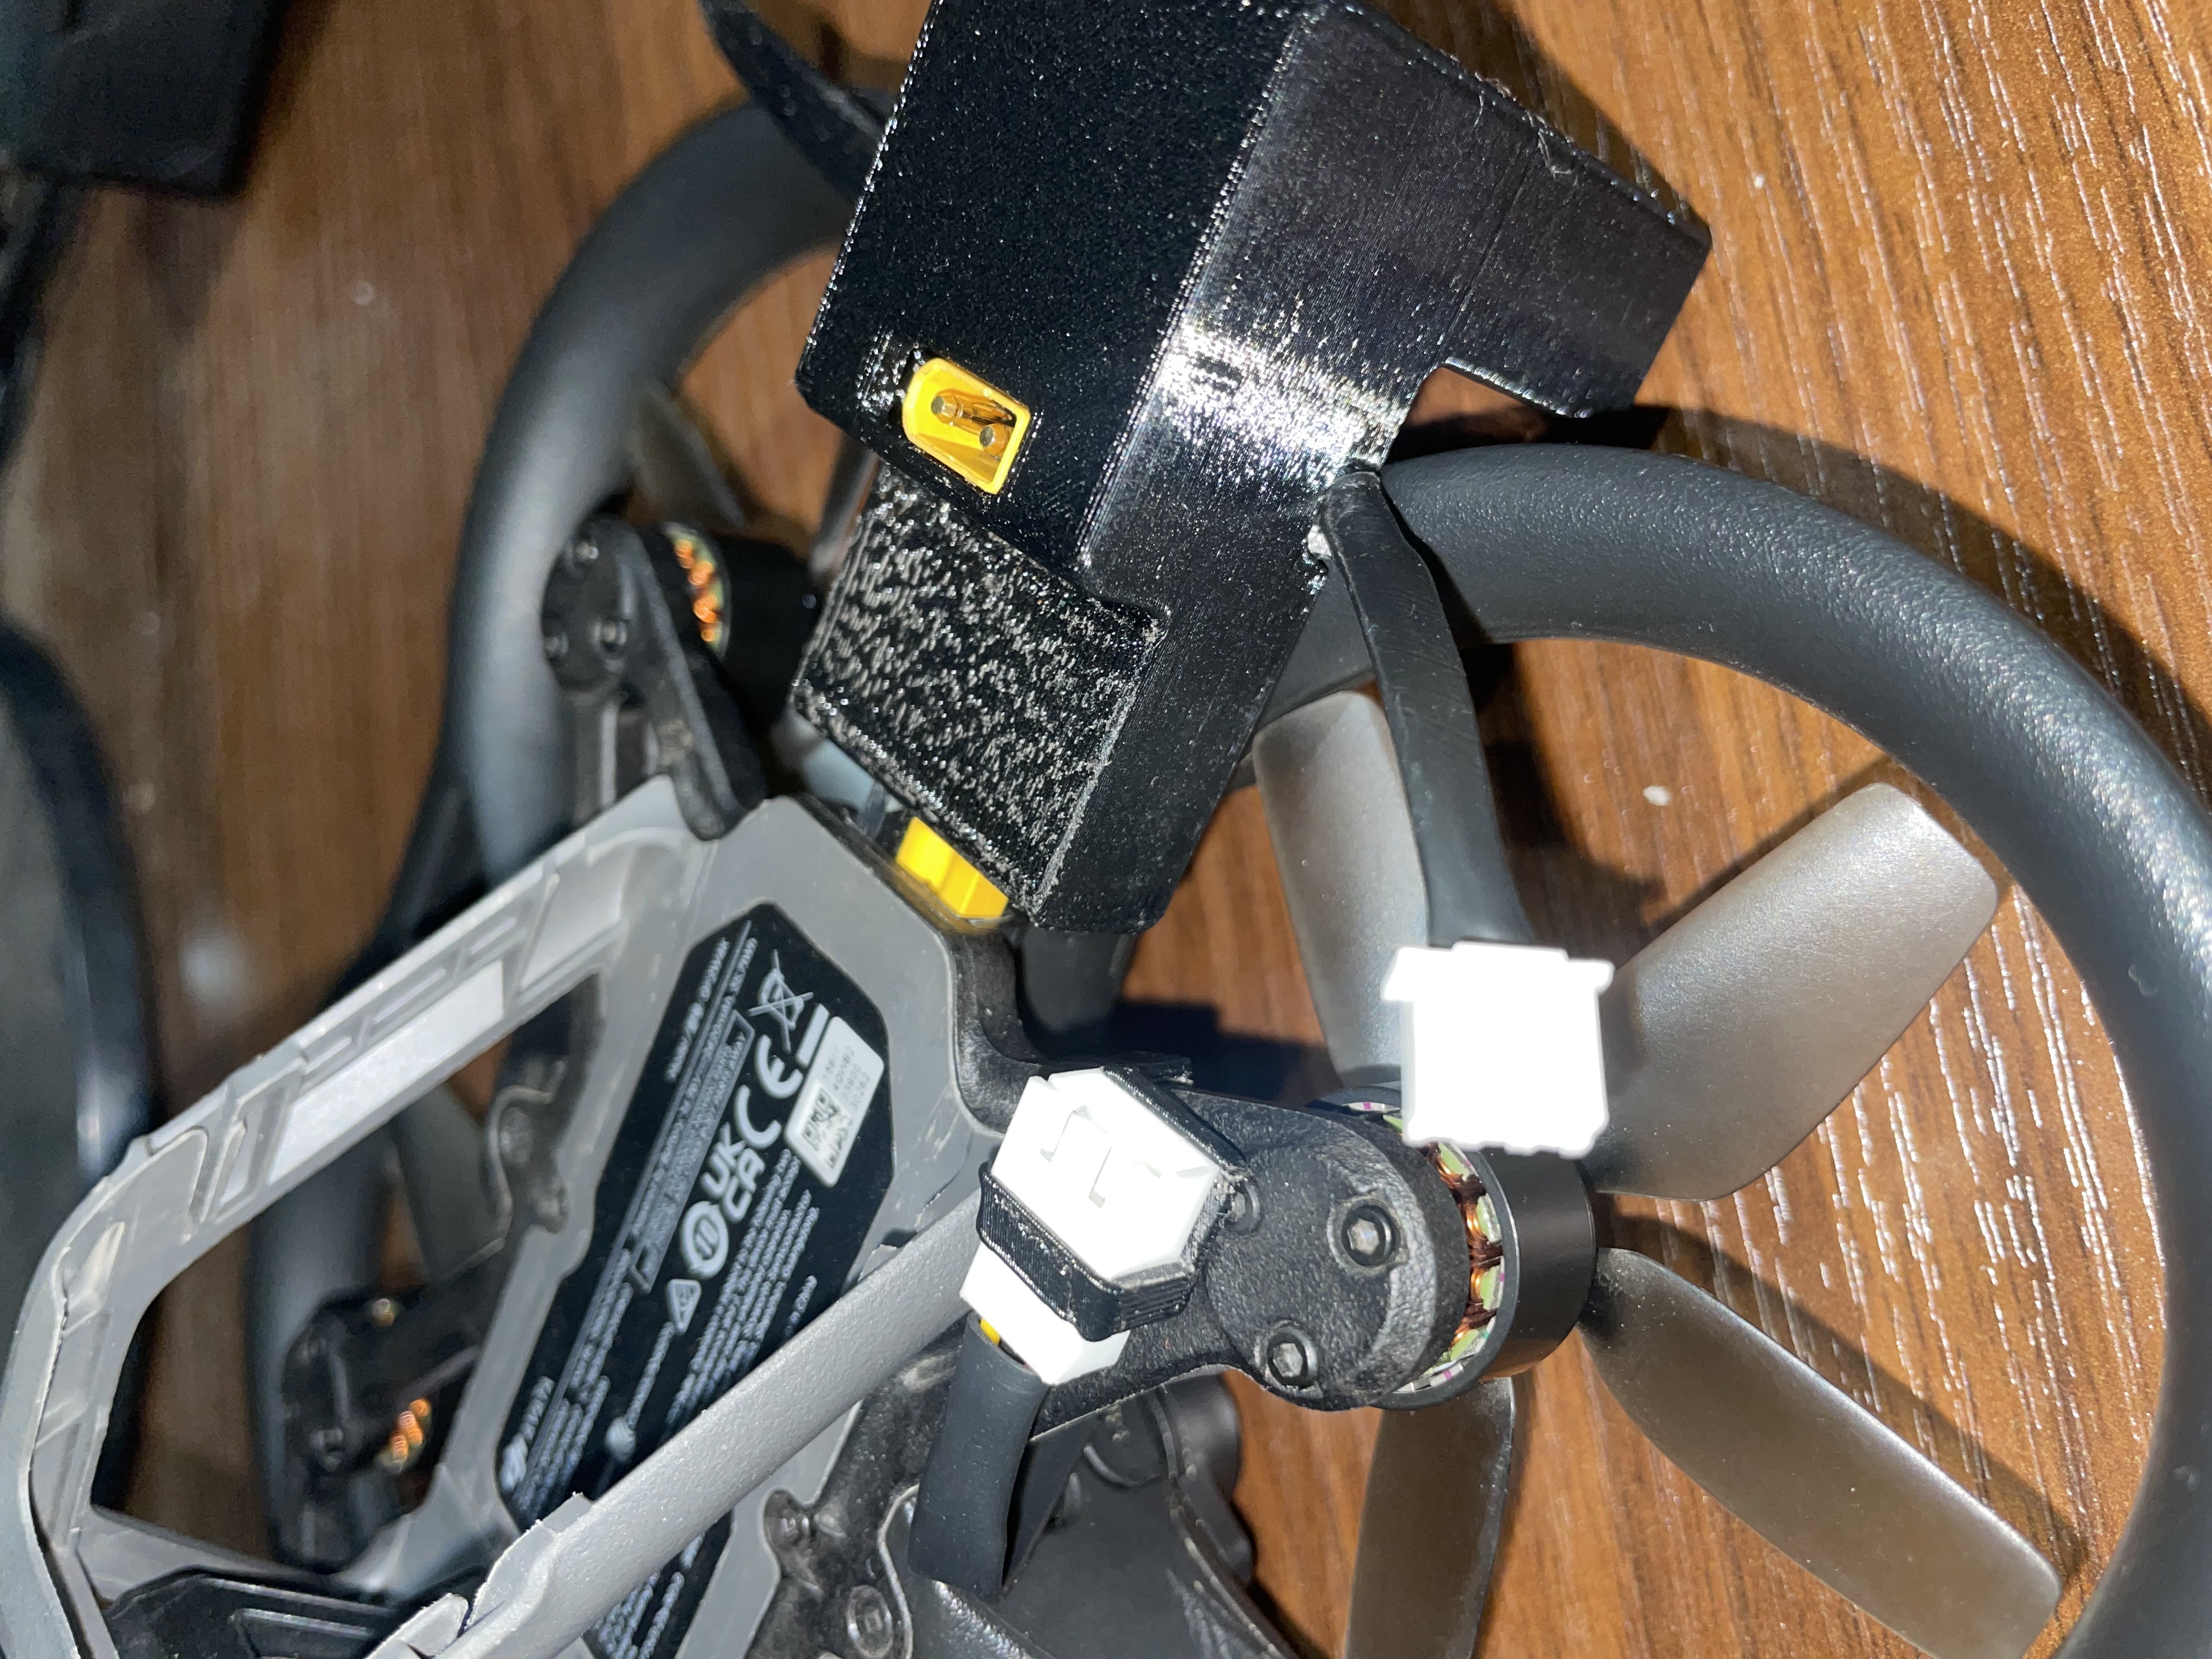
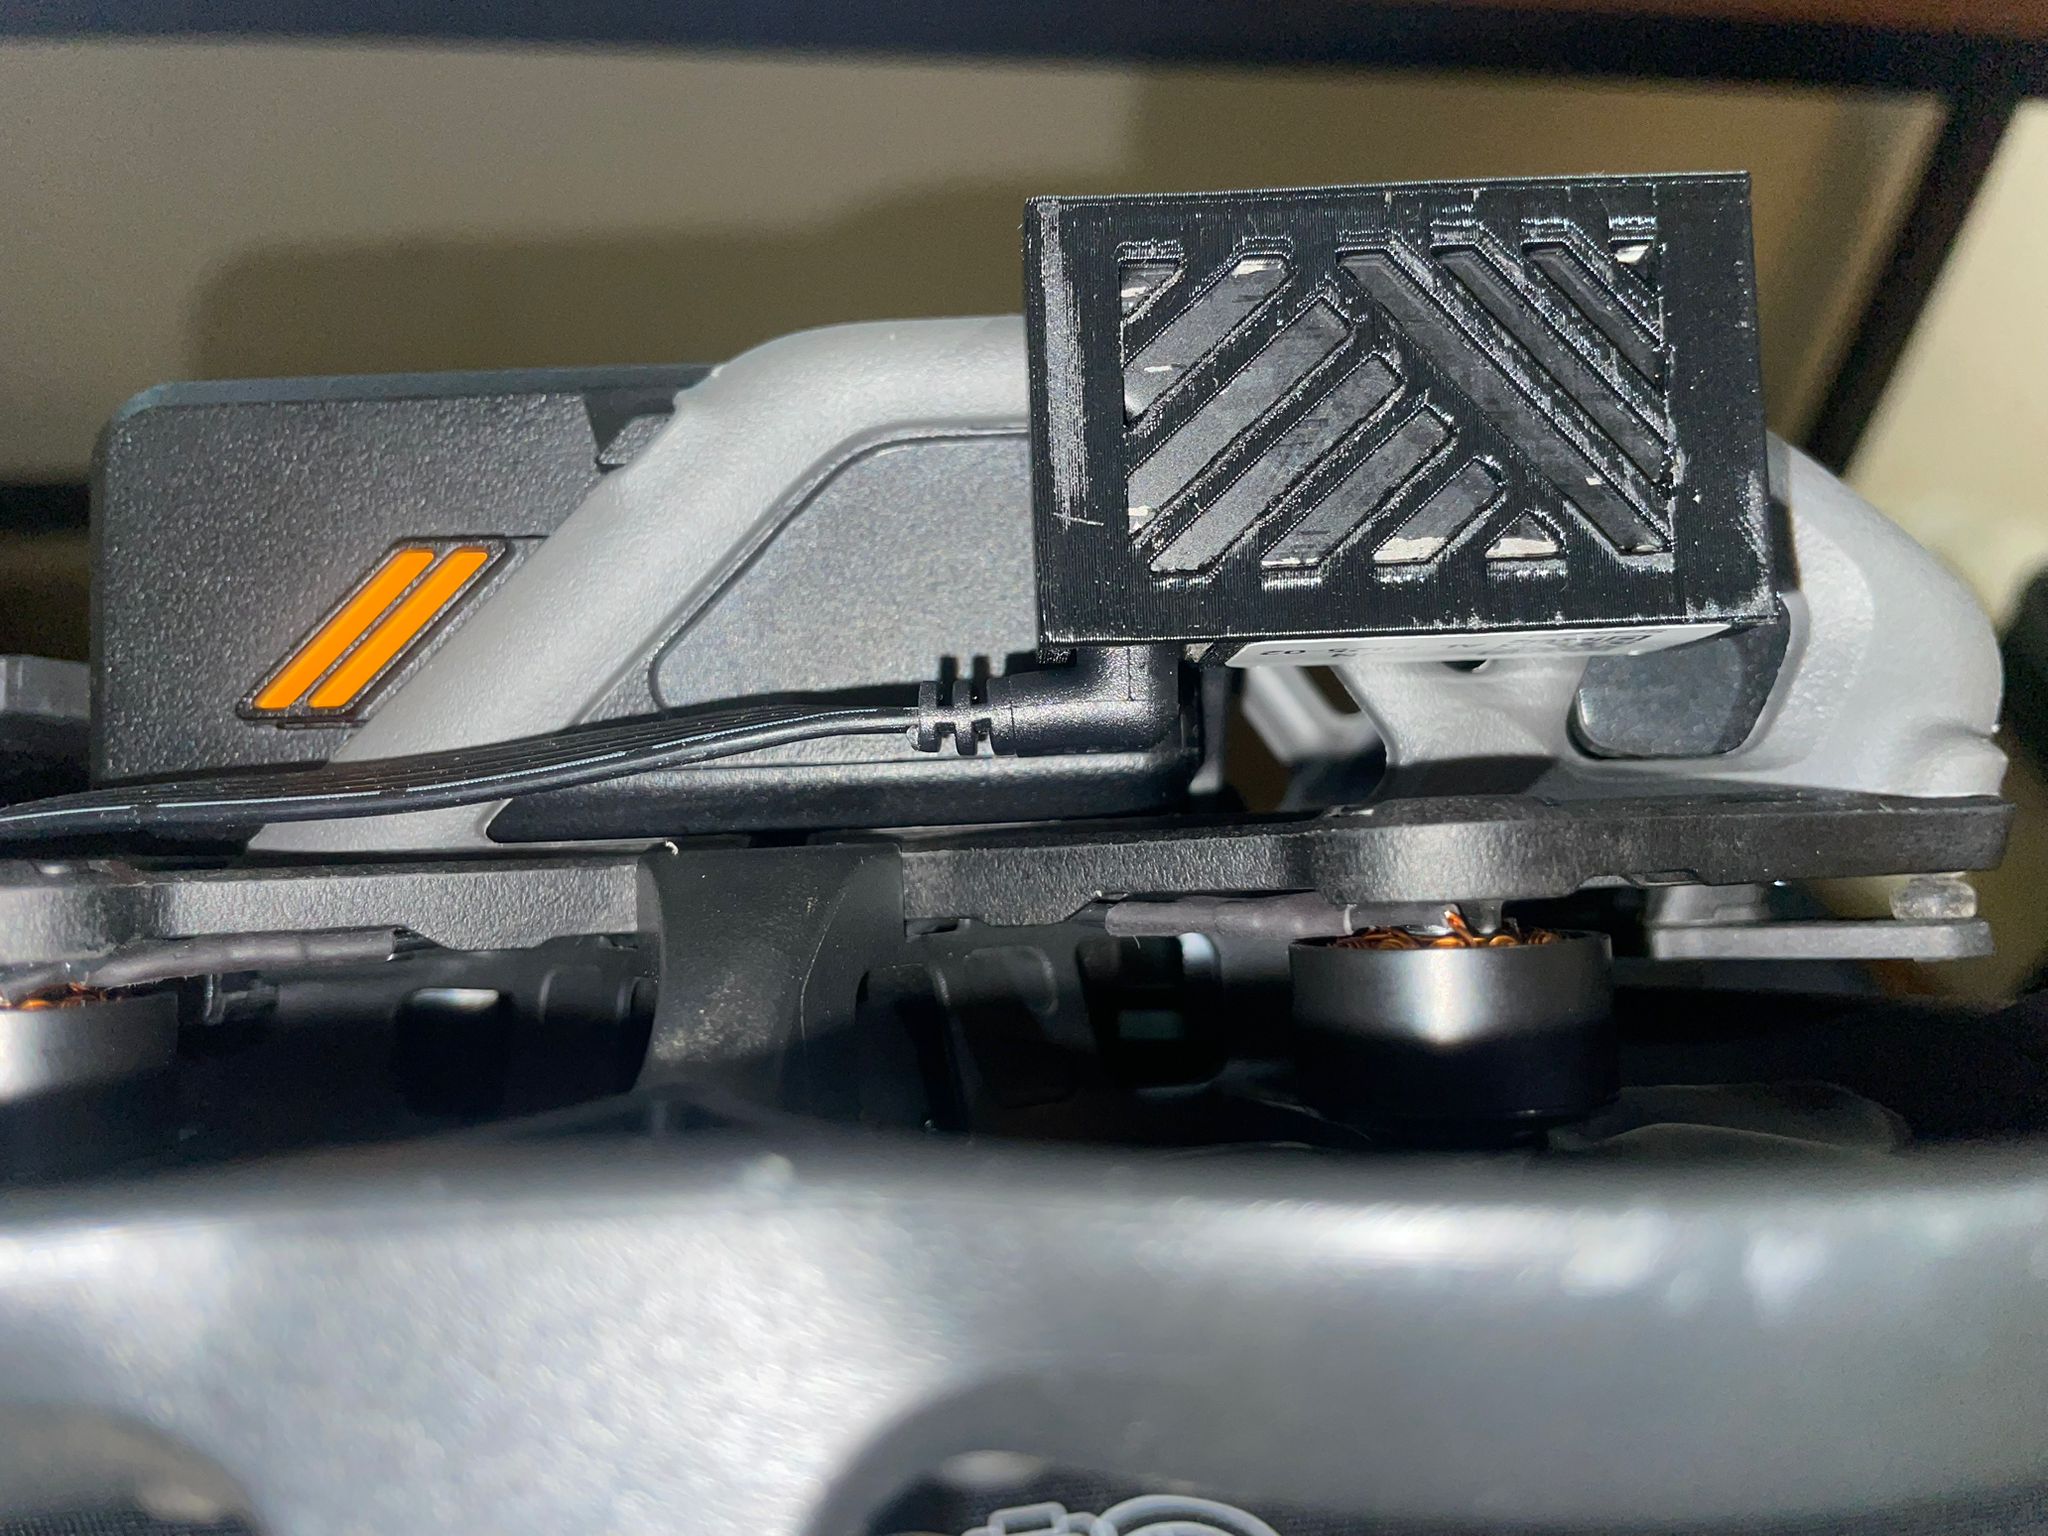
Step 3 – Connect the Rear Unit
Connect the rear module to the battery interface on the drone's body. It is recommended to perform the first installation without the battery.
Important: Insert it straight to avoid bending the pins.
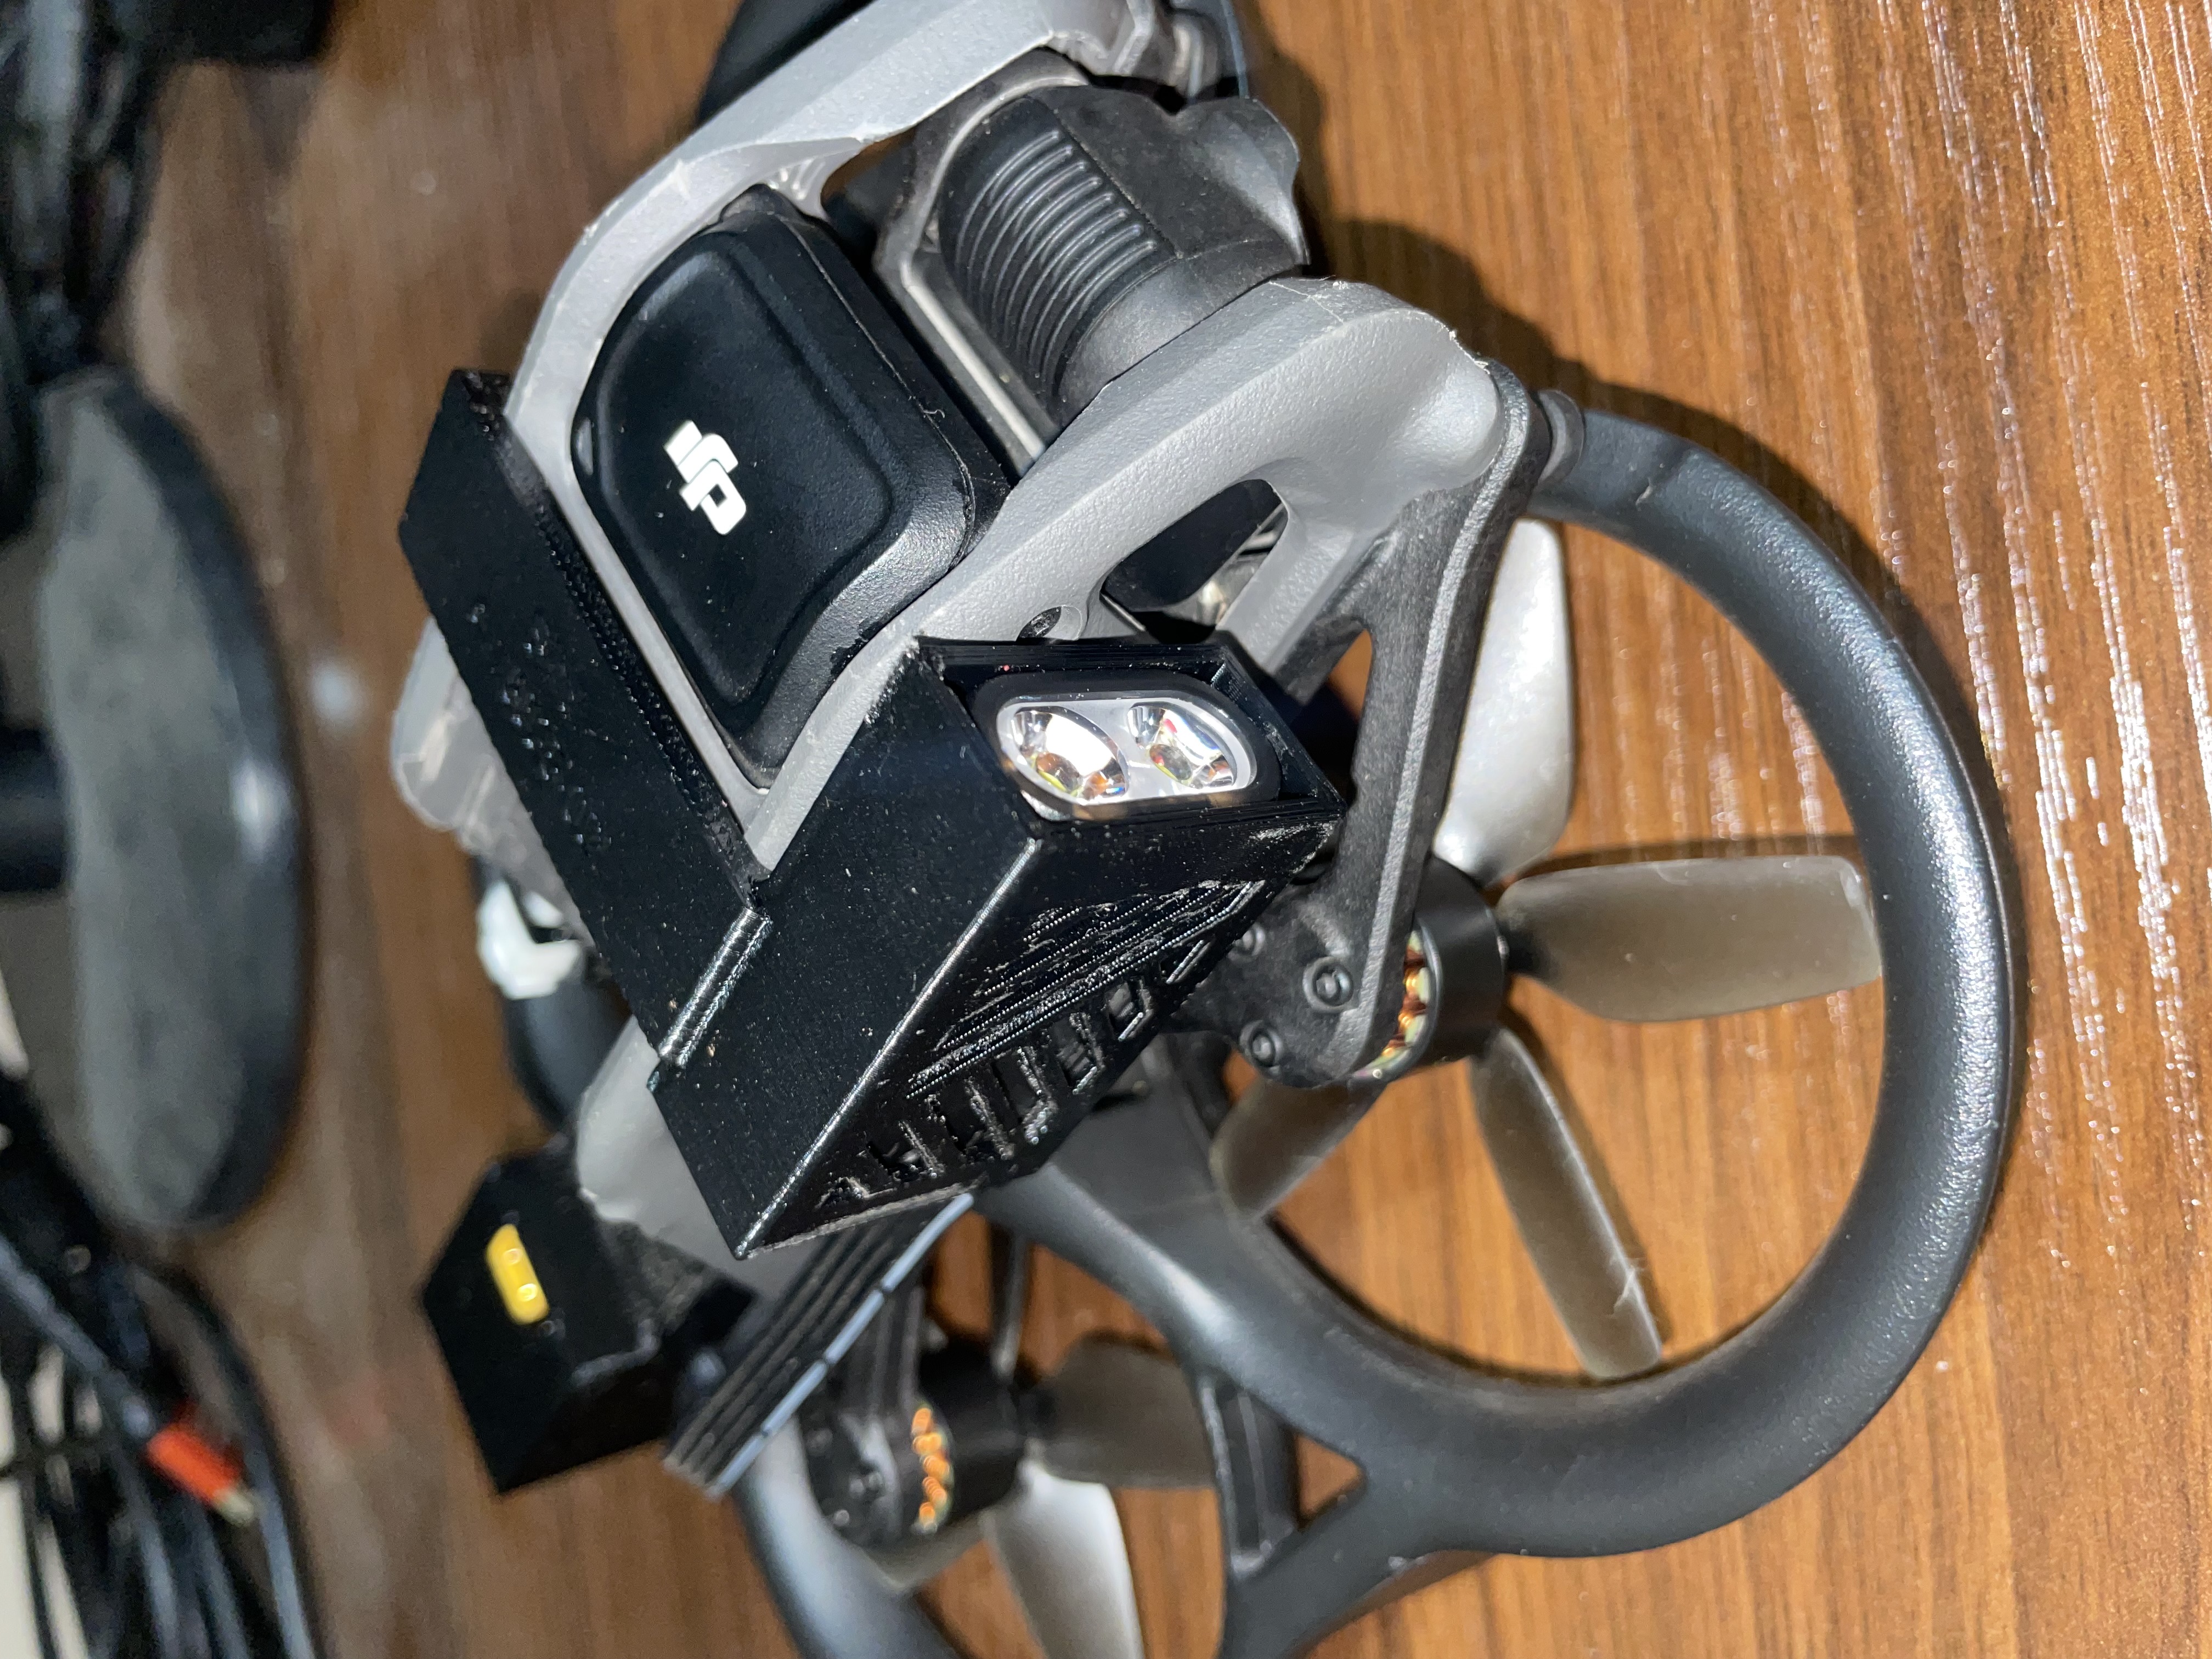
Step 4 – Connect the Front Cable
Connect the black Type-C cable to the front light module of the kit,
then snap the front clip into place as shown.
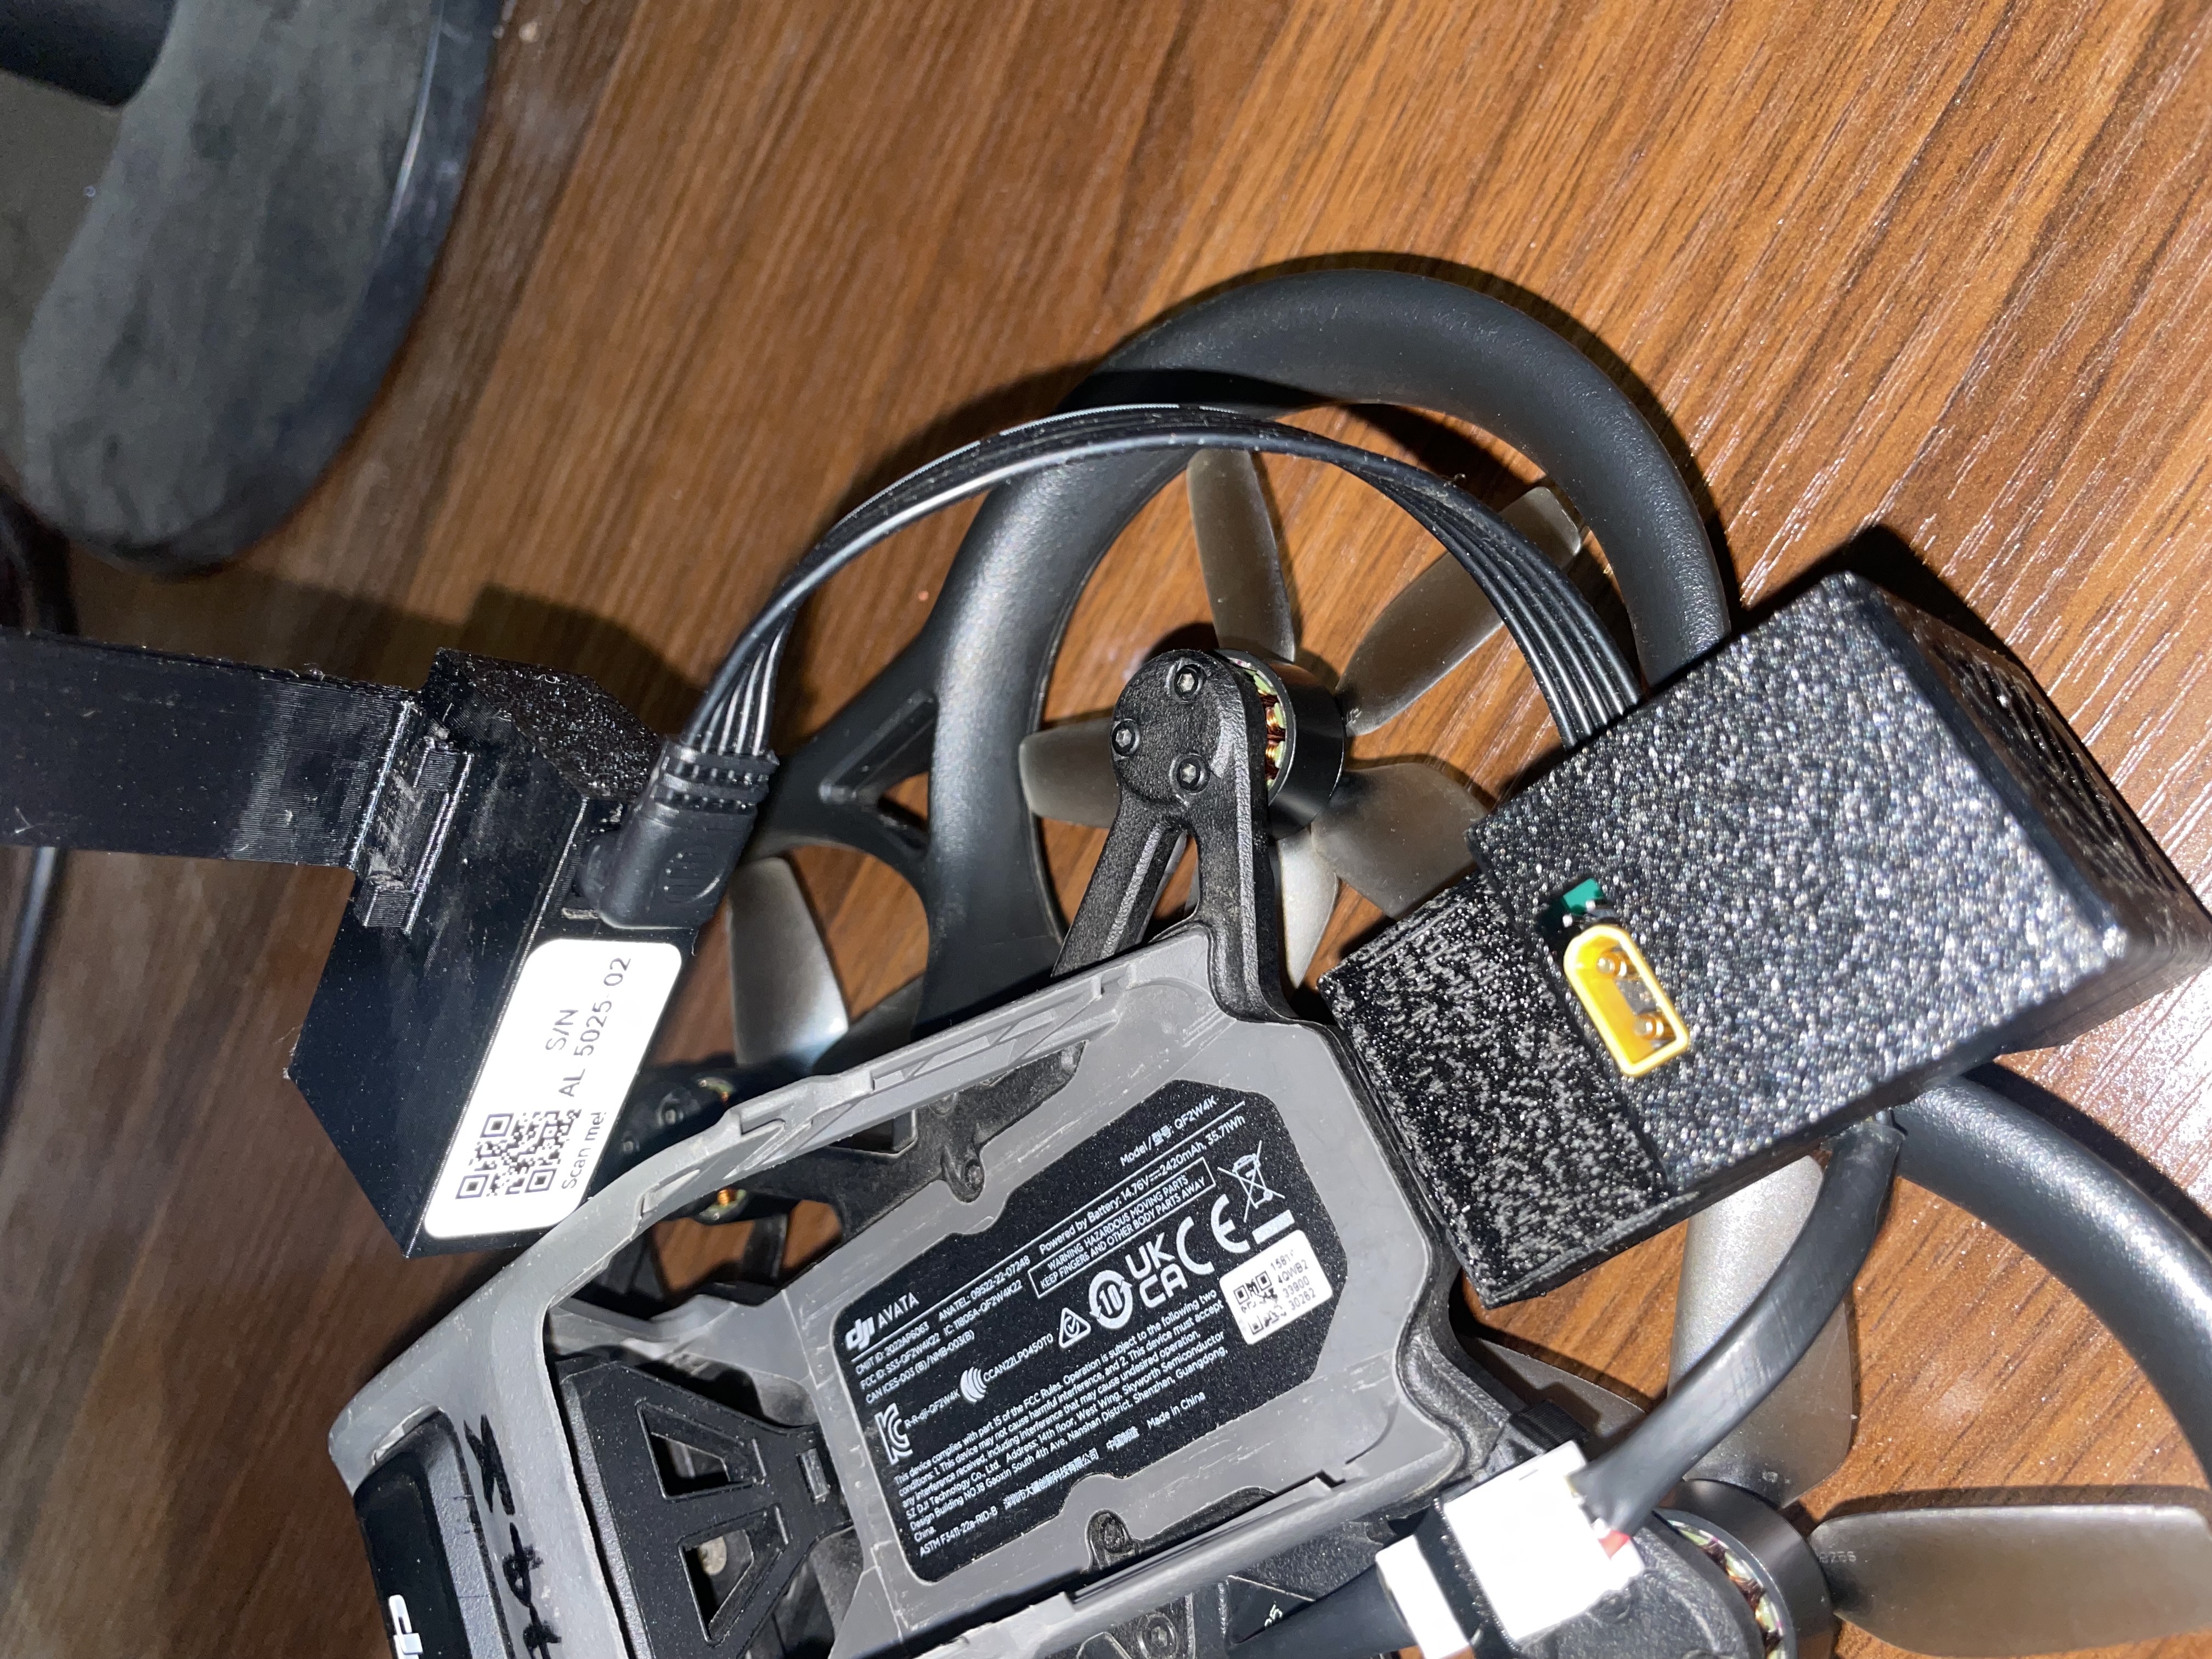
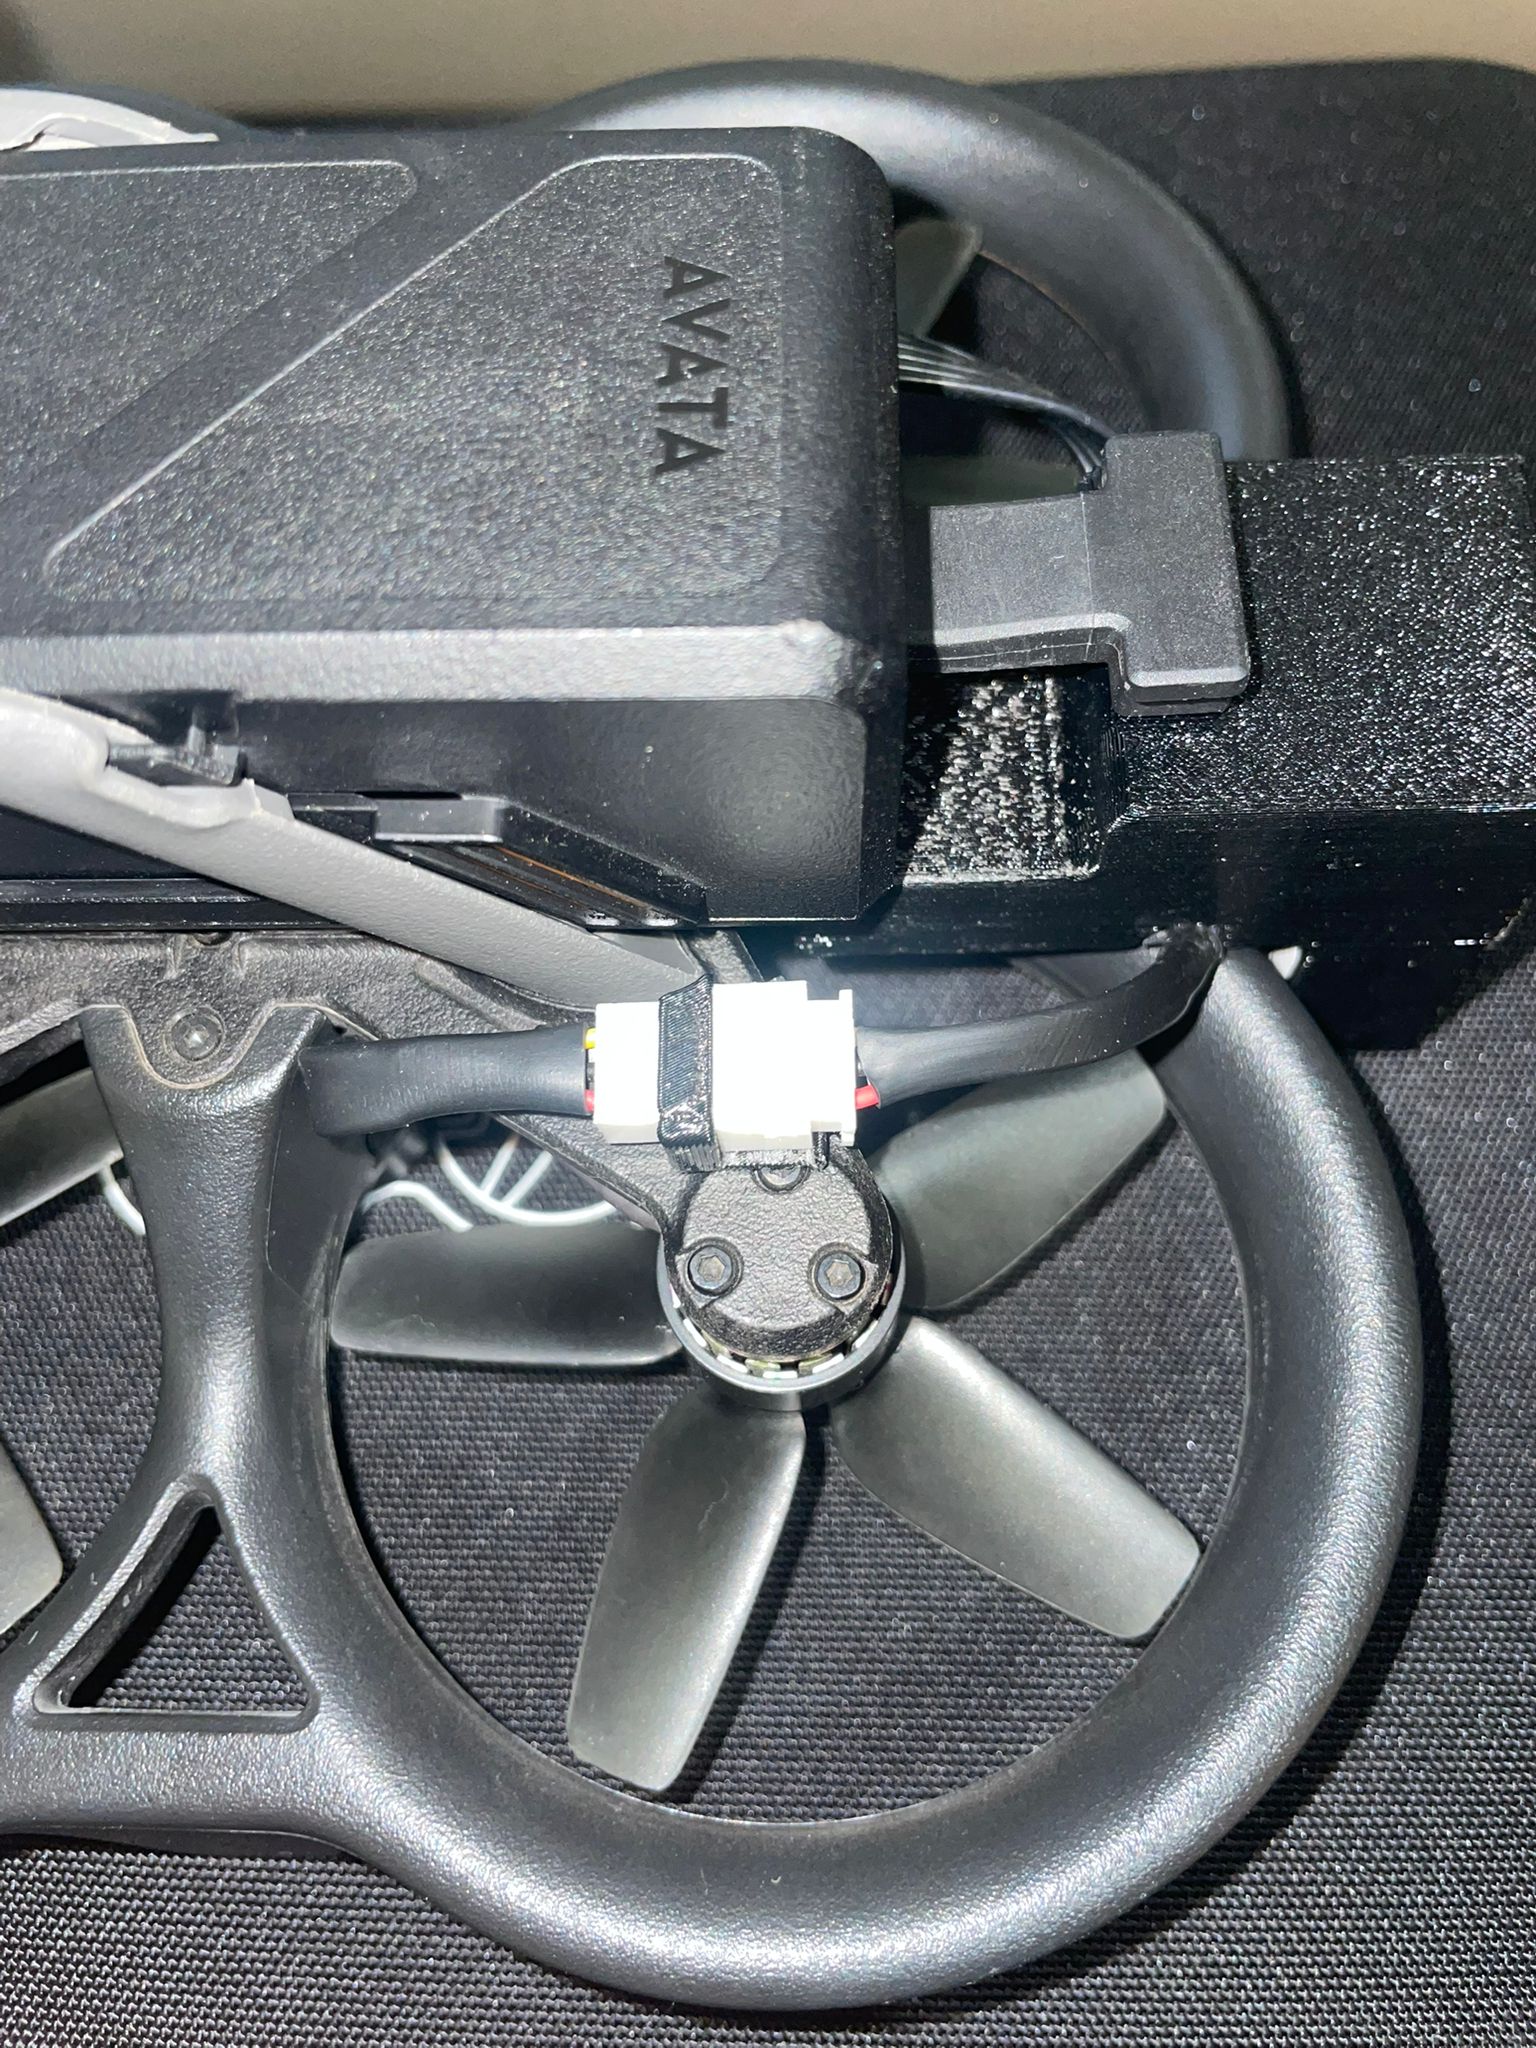
Step 5 – Connect the Memory Cable
Connect the memory card cable to the matching connector coming from the drone.
Step 6 – Install the Battery
Insert the battery into its slot and connect it to the kit.


After completing the installation, follow the testing and activation steps described in the User Guide.